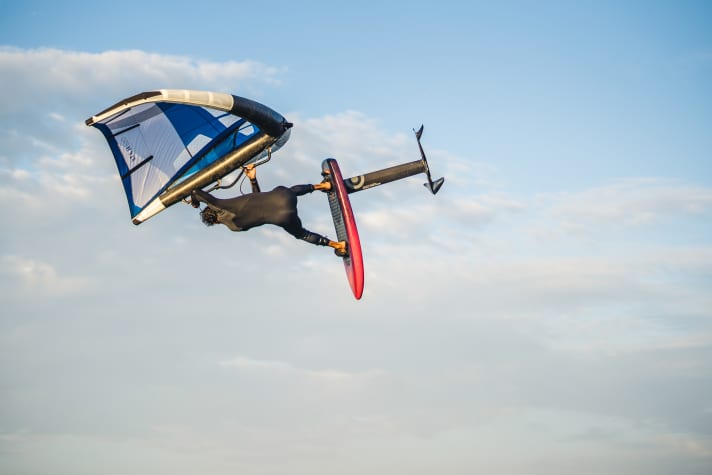
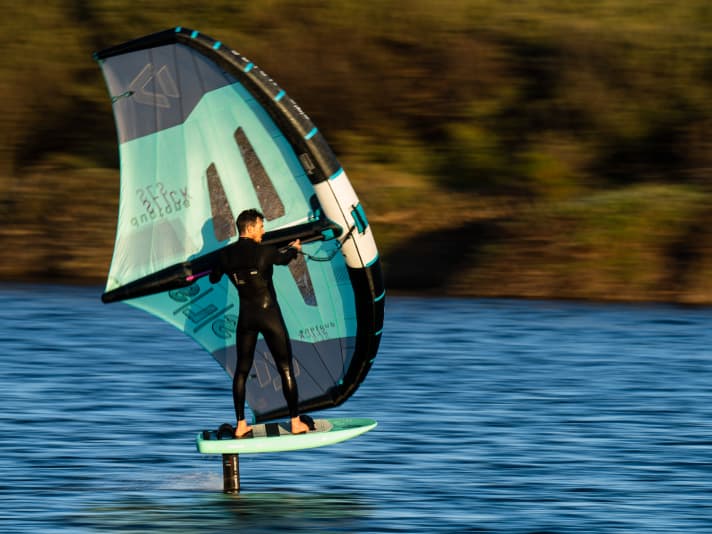
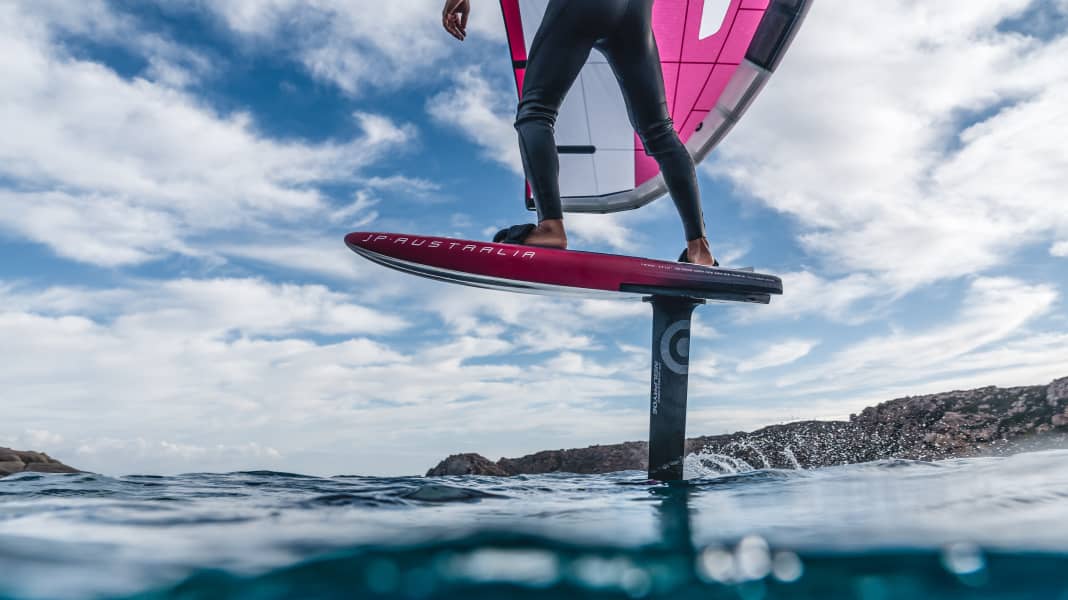
There are currently dozens of foil components and boards on the market - resulting in an almost unmanageable number of possible foil and board combinations. Less experienced foilers in particular are therefore constantly faced with the problem of reliably setting the right foil position. In our basic topic, we reveal how you can quickly work out the ideal position for your first session and what tricks there are to make sure you have it available again next time.
Standing on the mast
If you want to foil in a relaxed manner, you need to harmonise your stance and foil position - regardless of whether you are wing foiling, SUP foiling or windsurf foiling. The only difference here is that with windsurf foil boards, both the stance and the foil position are shifted further back, whereas with wing foiling and SUP foiling you stand much more centrally above the board. No matter which discipline you practise, the aim is always to surf with even pressure on both legs.
The ideal foil trim
Normally, the foil mast sits approximately under the rear loop. The entire lift of the foil is produced by the front wing. The position of the front wing under the board depends on the length of the fuselage (= longitudinal member on which the wings are mounted). Some foils have the front wing directly in front of the mast, while others have the front wing - and therefore the centre of effort - on a longer fuselage five to 20 centimetres in front of the mast.

This means that - depending on Which foil you screw under the board - a different position in the box must be selected so that the pressure distribution fits.
How to recognise whether the foil position is correct
Finding the right setup can be difficult, especially for newcomers to wingsurfing. Proceed step by step as follows:
- If you have never ridden your board-foil combo before, mount the straps in a central position, the foil also in the centre of the rail and get out on the water first.
- Problem 1: Do you have the feeling that the nose of the board doesn't come up properly and you constantly have to put pressure on the back leg to keep the bow up? Does the nose drop quickly during manoeuvres? Then move the foil and thus the centre of effort a few centimetres further forward. If this is still not enough to achieve the same pressure distribution, gradually move the straps further back.
- Problem 2: Conversely, do you have the feeling that you can barely keep the bow down and are constantly flying "snooty" above the water? Do you have to put a lot of pressure on the front leg in gusts to load the bow and keep the foil in the water? Then push the foil a few centimetres further back in the box! If this measure is still not enough to ensure equal pressure distribution, gradually move the loops further forwards.

Unfortunately, there are also some board-foil combinations that simply don't fit together. For example, if you have a board that has the box installed very far back and combine it with a foil that has the front wing on a short fuselage also far back on the mast (= centre of effort of the foil far back), the foil may simply not be able to be moved far enough forwards to get the lift between the feet. The only option then is to replace one of the components, board or foil.
We also explain how to find the right foil position in the following video tutorial. Take a look!
In our tests, we therefore always try out different foils in the test boards and point out problematic combinations and possible limitations.
Assembly aid: How to fit the foil properly
Mounting the foil is not usually one of our favourite tasks, but there are certain accessories that can help speed up the foil mounting process and also save the painstakingly worked out ideal position until the next session. We've explored what's on offer and tried out various options - the spectrum of possibilities ranges from small accessories from the 3D printer to special quick-fit systems.
1 T-slot nut holder
The brightly coloured parts from the 3D printer are flexible, the track nuts are clamped into the gaps provided and inserted together with the placeholder. In this way, the usual screw spacing of 165 millimetres for foils is preset. If you now put the foil mast in place and screw in a screw at the front, the rear hole will be hit automatically and without any fiddling.
And the parts have yet another advantage: If you forget the track nuts in the board, you won't lose them. This applies at least to boards where the opening for the track nuts is in the centre of the box. If the track nuts are inserted at the beginning or end of the box, losing them is unlikely, but theoretically possible, so you should prevent this by turning the screws in slightly.
In our opinion, the placeholders are a good way to make life easier when fitting foils. However, the slot nut placeholders are not suitable for saving the position! They are available for 15 euros. If someone uses foils with a different hole spacing, the placeholders are also available with 160 and 175 millimetre spacing. Order by e-mail at ew@wurl.de
Manufacturer Duotone also offers a product based on this principle with the "Tracknut Sled". Here too, the hole spacing is 16.5 centimetres and the price is also 15 euros. The Tracknut Sled is available in many surf shops - if you google the product, you will quickly find it.
2 Locking T-Nuts/ Grab Nuts
Whether "Locking T-Nuts" or "Grab Nuts" - the product names usually refer to the same thing. In addition to the thread, a small Allen pin is inserted into the small track nuts, which allows the plates to be easily fixed within the double rail of the board.
So if you carefully loosen your foil during the first session - without the plates slipping - and then fix them in the appropriate position, all you have to do in future is put the foil on and screw it tight, eliminating the annoying shifting of the track nuts. The Locking T-Nuts are therefore particularly helpful for foils where the screws cannot be screwed into the side of the mounting plate. In addition, the favourite position of the foil is then saved. The Locking T-Nuts are available in a set of 4 for both M6 and the thicker M8 screws for 25 euros in many surf shops.
3 Track Nut Train
The "Track Nut Train" from manufacturer Cabrinha works in a similar way to the Locking T-Nuts. The only difference is that the track nuts are firmly connected to each other. The two carriages are inserted into the box and the position of the track nuts can now be fixed using a small Allen pin. The advantage: the track nuts cannot slip during assembly, and the favourite position remains stored after disassembly. Another advantage is that the track nuts always sit exactly under the holes in the mounting plate. This saves a lot of fiddling, especially with foils where the screws on the mounting plate cannot be inserted from the side.
However, there is one restriction: The Cabrinha Track Nut Train is only made for foils with a hole spacing of 14 centimetres, only then will the track nuts be exactly under the holes of the mounting plate when screwed on. That's why you should measure the hole spacing on your own foil before buying - the product costs 70 euros after all - to be on the safe side and avoid any nasty surprises when assembling it for the first time on the beach. The measurement is always taken from hole centre to hole centre. If you use foils with different hole spacing - widely used are those with 16.5 centimetre spacing - you should switch to the Grab Nutz/Locking T-Nuts or the Duotone Tracknut Sled. These alternatives are also significantly cheaper and fulfil the same purpose.
4 FoilFix
The FoilFix system promises quick assembly and the ability to save the position. The screws are permanently positioned in the rail as stud bolts and the foil is then screwed onto the bolts with nuts. Fixing the stud bolts for the first time works without any problems; the plastic spacers supplied in different thicknesses can be used to ensure that the screw length is correct


