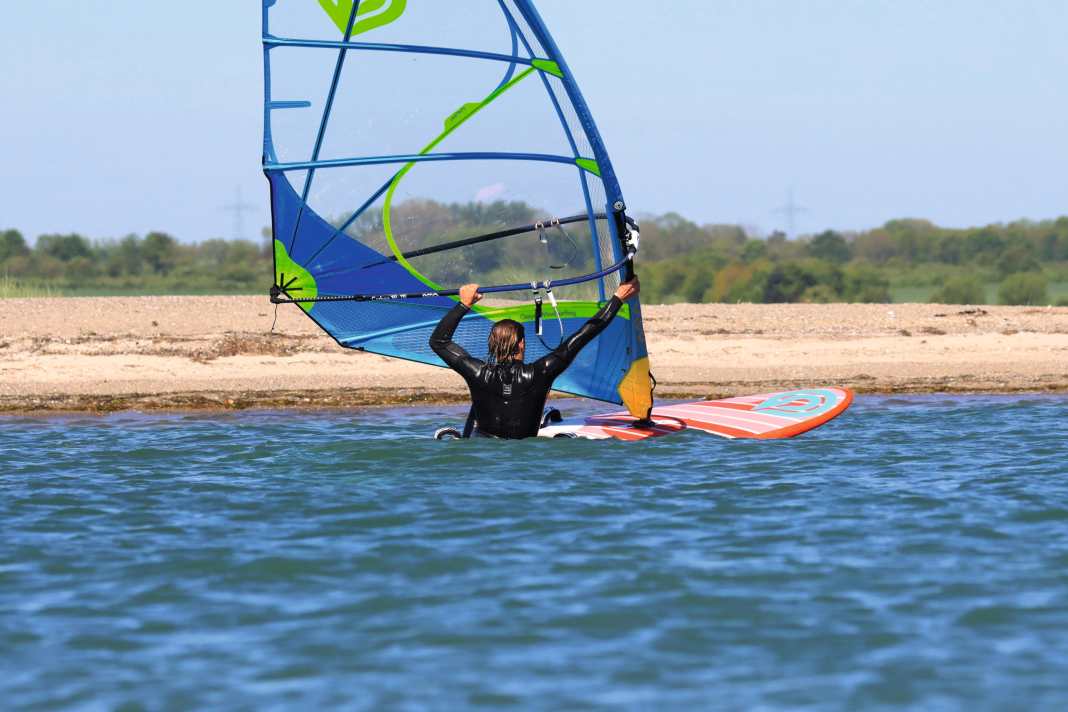
Who doesn't know the lowest glideable wind range? The point at which you just about get on the board, just about glide off - or not by a hair's breadth. This is the area where everything has to be just right, where every misstep or the slightest misadjustment is fatal and decides whether you have a fun session or sit on the shore all day waiting for stronger winds.
Early planing, that's 50 per cent technology, 50 per cent tuning.
While in strong winds it's all about jumping on and keeping it tight, in light winds much more fine motor skills and technique are required to utilise the given wind as efficiently as possible. To do this, the low forces must be transferred to the board and sail in the best possible way in order to make them rewarding. It's all about the angle of attack, loads and body posture, which are simultaneously supported and favoured by an adapted adjustment of the material. When there is enough wind, you often don't even notice these "little things". But if you passively hang in the back at 15 knots just as much as at 25 knots or try to let the sail pull you out of the water in the same way, you won't get very far or very high. Instead of packing up and complaining about too little wind, try out our light wind tips.
Tuning tips for light winds
In general, we want to try to catch as much wind as possible, generate as much lift as possible and thus get the board free. Every knot of wind should be utilised as efficiently as possible. You can make the following adjustments to achieve this:
Upright stand due to higher boom
An upright stance plays an important role in light winds, because the more upright your sail is, the more wind you will catch. Pushing up the boom not only leads to a more upright body and therefore sailing position by automatically shortening the ropes, but also allows the centre of gravity to move up a little overall. In light winds, we want to avoid having the board lying too close to the water and thus displacing more water. But what is the "right" boom height? Shoulder height is often mentioned here, but it is important to know that the wider your board is, the higher the boom needs to be positioned - simply because on wide boards you are further away from the centre line and therefore from the sail than on narrow boards. This means, for example, that you have to mount the boom a few centimetres higher on a freeride board that is 80 centimetres wide than on a freestyle wave board that is only 65 centimetres wide in order to have a comparable "perceived" boom height on the water. So if you use wide boards and stand next to your sail when adjusting the boom on land, the boom can sometimes be mounted well above shoulder height.
Long harness lines
A higher boom can only feel good in combination with longer harness lines. Longer ropes are also an advantage when bobbing and in gusty conditions because you don't hang so close to the sail and have more freedom of movement and control. Our tip: Buy vario harness lines with a length of 24 to 30 inches in the shop. You can then gradually push the boom a little higher and at the same time lengthen the harness lines a little so that you can continue to hang in a relaxed manner.
Base plate one piece back
Control problems are ruled out in the wind range we are talking about here. The bow will not go flying in absolute light winds. So feel free to push the base plate a little further back to get the board onto the fin as freely and quickly as possible. Our tip: Starting from the centre position, moving it backwards by one to two centimetres will give you the desired result. You should not go right to the end of the mast track, because if the base plate is too far back, this can lead to a general backward position, which in turn is counterproductive when planing.
Trim sails for light wind
You can get a lot out of camberless freeride sails in particular, but also freemove or wave sails with a bulbous trim. If the wind is so light that pressure point changes and gust control don't play a role, simply release tension at both ends and see what works. If the wind picks up, you can always retrim. If there are two eyelets available on the outhaul, always choose the upper one in light winds. And don't worry, the sail can lie flat against the boom in the last third up to the outhaul.
Gliding in light winds
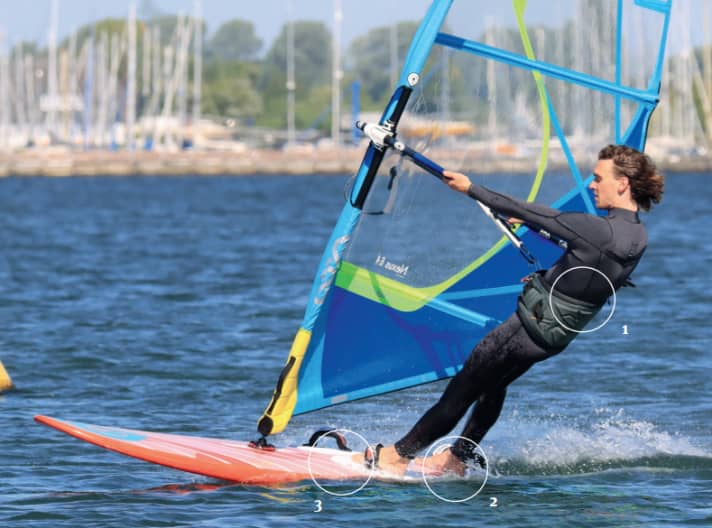
1: Candle straight stand
Standing as upright as possible and with a lot of body tension, try to keep the centre of gravity at the top and above the centre of the board. The front arm is fully extended to keep the mast as upright as possible. In light winds, the following applies in particular: boom up! This provides more lift.
A stronger gust would quickly lever you out of this position and easily throw you over the front, so in stronger or gusty winds you should tend to use longer ropes to sit lower and be able to control and balance the lever better.
2: Rear foot out of the loop
At the glide threshold, it can help to take your back foot out of the strap or not put it in at all so that the board doesn't stall at low speed. This also allows you to glide around in a controlled manner.
Placing your foot more in the centre of the deck helps to move the board from the windward edge to the leeward edge and thus more freely and at speed.
3: Power transmission to the front
Particularly in the planing phase, i.e. before the front foot changes into the loop, you should pay attention to forward power transmission. Turn your front foot forwards in the gliding phase, with the tips of your feet pointing towards the bow. As a result, your hips and upper body will also unconsciously turn forwards and the power of the sail will now be transferred to the board in a more forward direction. If, on the other hand, your front foot is at right angles to the direction of travel, you also transfer the power across to the board - the consequences are poor planing and the tail being pushed to leeward.
Even with just one foot in the loop, it can be glided around in a controlled manner.
Dampening in light winds
As soon as there is no chance of gliding in light winds, one thing above all is important: go upwind! Every planing manoeuvre or water start can quickly cost you a few metres of height. Only if you have enough height can you use it sensibly for fun things.
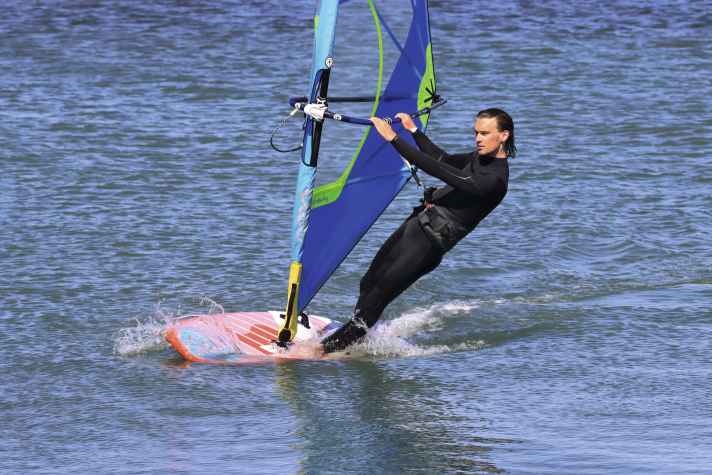
To stay close to the wind:
- Hook in to save force
- Longer ropes also make your life easier here
- Load the windward edge against lateral drift
- Apply pressure by stretching the front leg on the base plate
- Keep sails tight at the back
- Relax and keep an eye out for the next squall
Water start in light winds
Aligning and positioning the material correctly is a topic in its own right, Here you will find a detailed description of the water start and the preparations. This is all about the right technique for the ascent.
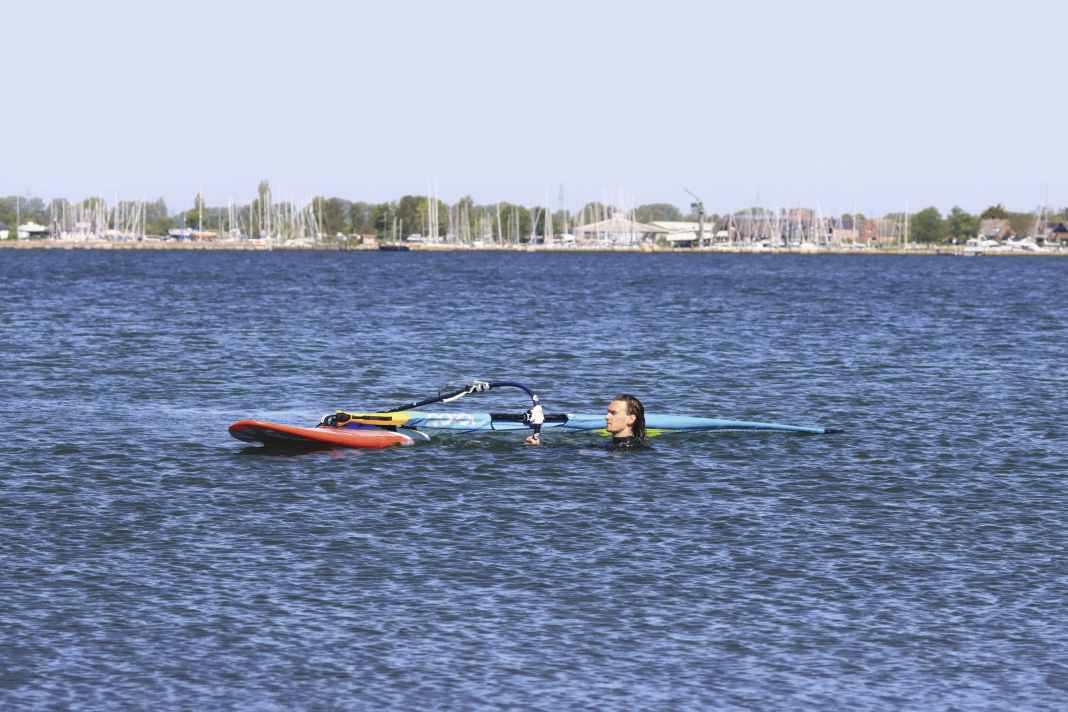


The motto for water starts is: Don't pull up, let it pull you up!
Pro tip 1: Handle on the mast
But what if the lift just isn't enough to get you up the water? Then you can help with a few little tricks!
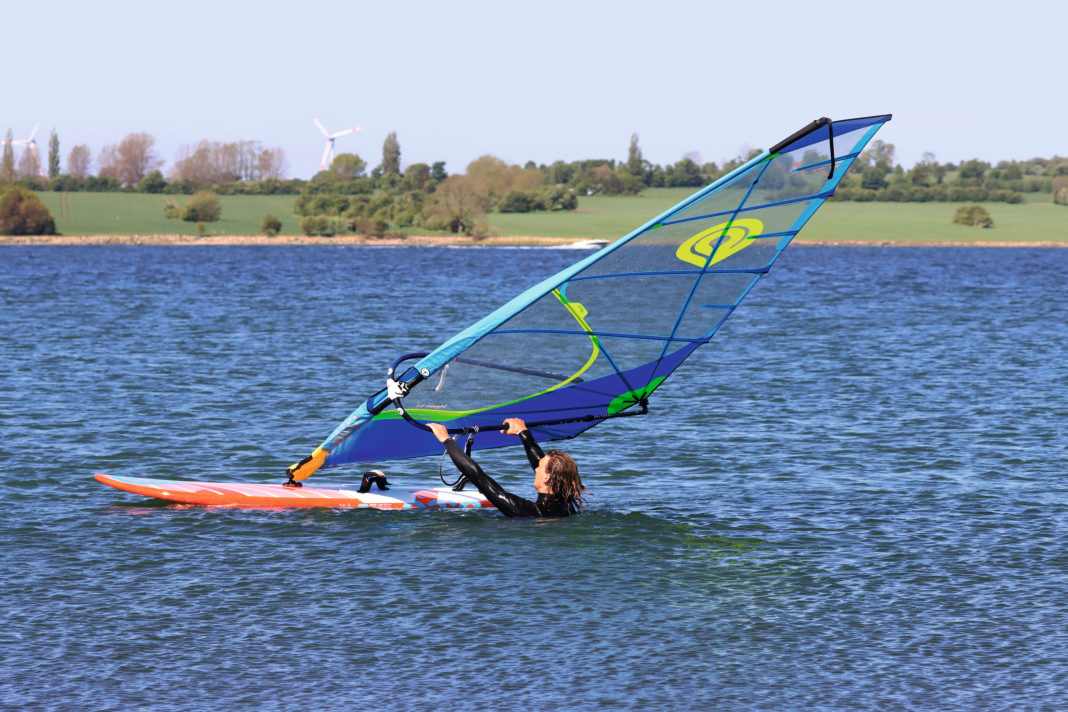


The aim should be to set the sail as upright as possible for the water start.
Pro tip 2: Grip the lower leech
There is one last upgrade for the light wind water start. The grip on the lower leech doesn't just look special - this pro tip has a lot to offer, especially with larger sails. Small wave or freestyle sails (under 5.5 m²) are much easier to balance with this technique, but it also works with large freeride sails.
/the-first-step-is-to-grip-the-mast-with-the-front-hand-then-the-lower-leech-with-the-rear-hand-)
/the-first-step-is-to-grip-the-mast-with-the-front-hand-then-the-lower-leech-with-the-rear-hand-)


The tip to raise the sail as high as possible in light winds for the launch in order to catch as much wind as possible is taken to the extreme with this technique. Here too, the first steps (positioning, aligning, windward pull) are no different from a normal water start.
