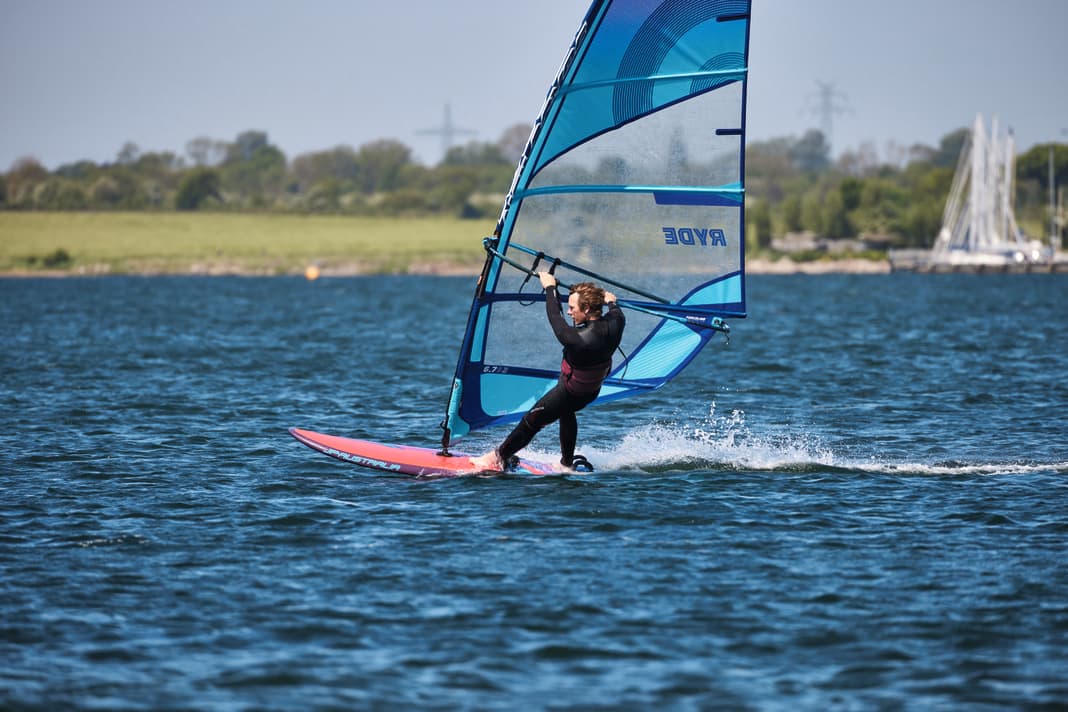
When it comes to planing, the old sailing principle of "length runs" also applies to windsurfing. If you compare the boards from 20 years ago with modern shapes, you will notice that they are much more compact today. A freeride board with the same volume is now almost 30 centimetres shorter and significantly wider than back then. This brings noticeable advantages once you are gliding: a sporty, compact gliding feeling, better control, a lower tendency to clip in jibes and, above all, more stability against tipping.
However, in the planing phase, i.e. when the board is supposed to transition from displacement to planing, a certain technique is required on the shorter boards - and if you don't know this, you may have problems with modern boards. It often happens that the board turns back into the wind with the bow just at the moment you want to get into the loop - the planing ends before it has really started.
To make sure this doesn't happen, we'll show you the most important key points for setting up your equipment and riding technique on the water below.
The right board settings for planing
When things aren't going well on the water, it usually "feels" like the material is to blame. However, at least in the case of planing, this often-used excuse is always true, as early planing and the right material settings are directly related. The most common mistakes:
- Boards too small
- wrong board type
- Poor sail trim
We'll show you what's important: If you're just learning to glide or are returning to the board after a long break, you'll benefit from a board with sufficient volume and width. How big the board should be depends on whether or not you are confident with water starts. If you have to sheet launch from time to time, you should choose a board based on the formula "body weight + 60 to 70 litres = recommended board volume". On the other hand, those who can safely water start should follow the rough rule of thumb "body weight + 40 to 50 litres = recommended board volume".
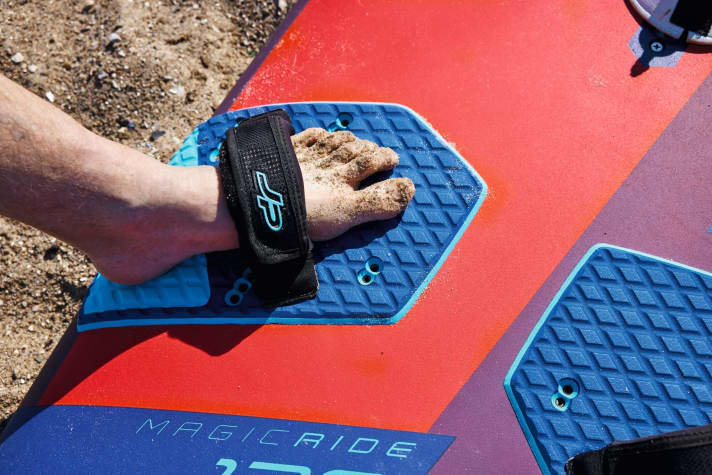
We advise all beginners and returners to use boards of the type Freeride. These have a shape optimised for gliding and offer the option of mounting the foot straps far forward and on the inside at the start - one of the most important factors when learning to glide. If, on the other hand, you succumb to the temptation of a freerace or slalom board and the prospect of maximum top speed, you will get boards where the straps only sit far out on the edge - this is a "no go" at the beginning. The straps themselves should be set slightly larger at the beginning, ideally so that the foot can slide in further than just the toes. If you can slide safely in the straps, you can then gradually adjust the straps further outwards and make them a little tighter, which provides control at high speeds.

Sail tuning for early planing
The correct sail trim also has a major influence on the gliding characteristics. In order for the sail to generate propulsion, the built-in profile must be able to fully develop. This is only the case if you do not pull the sail too flat on the outhaul rope (rope at the end of the boom). The following applies: Tension the luff to the required length first!
With freeride, freemove and wave sails, there should always be a slight loose leech - i.e. visible creases on the leech in the area of the upper two battens. In order to achieve this, you usually have to be quite firm. The boom end, on the other hand, is only tightened moderately - if you support yourself here with your foot and pull through with full force, as with the luff, you will completely kill the sail profile and thus also the planing performance. In the finished trim, the sail can almost touch the boom on the leeward side.

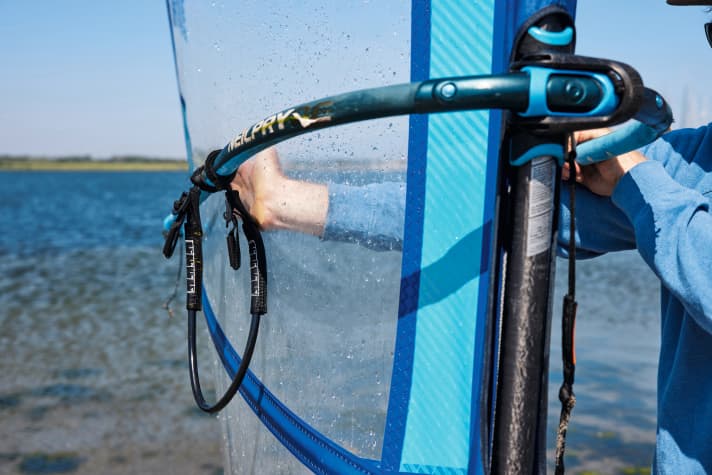
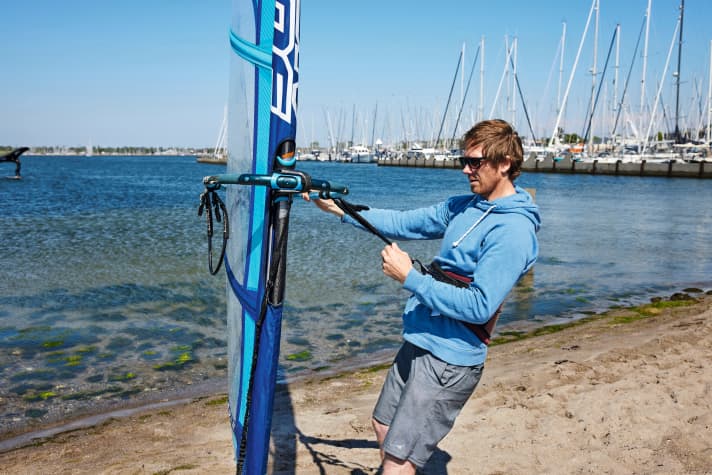
Correct adjustment of the harness lines: Just take them off...
It used to be fashionable to surf with short harness lines - lengths of 18 to 22 inches were widespread. From a technical point of view, such short harness lines are complete nonsense, especially when you're just learning to planing. Why? Firstly, because with short ropes you hang very close to the boom and therefore have little room to react to gusts - catapults happen even more often as a result. But also in terms of early planing, ropes that are too short trigger a veritable chain of errors, because: In order to be able to hook in and out at all with short harness lines, you inevitably have to ride the boom lower. As a result, the power transfer to the board is no longer optimal and lateral forces are created which cause the board to turn into the wind with the bow during the planing phase.
surf tip: Use vario harness lines with an adjustment range of 24 to 30 inches and, if you are currently still using very short ropes, try to gradually lengthen them over a longer period of time. The longer the ropes, the higher you can raise the boom. This has the advantage that the harness lines are no longer almost horizontal when hooked in, but the pull is directed downwards. This makes it easier to transfer your body weight to the base plate via the harness during the planing phase. When hooked into the harness, the upper body or chest and front foot should be turned in the direction of travel - you can find the corresponding technical tips in the picture gallery below!

The right gliding technique
In principle, planing can be divided into three phases: The preparation phase, in which you accelerate, the step into the front loop and the full glide at the end. We explain all the steps in the gallery above!


