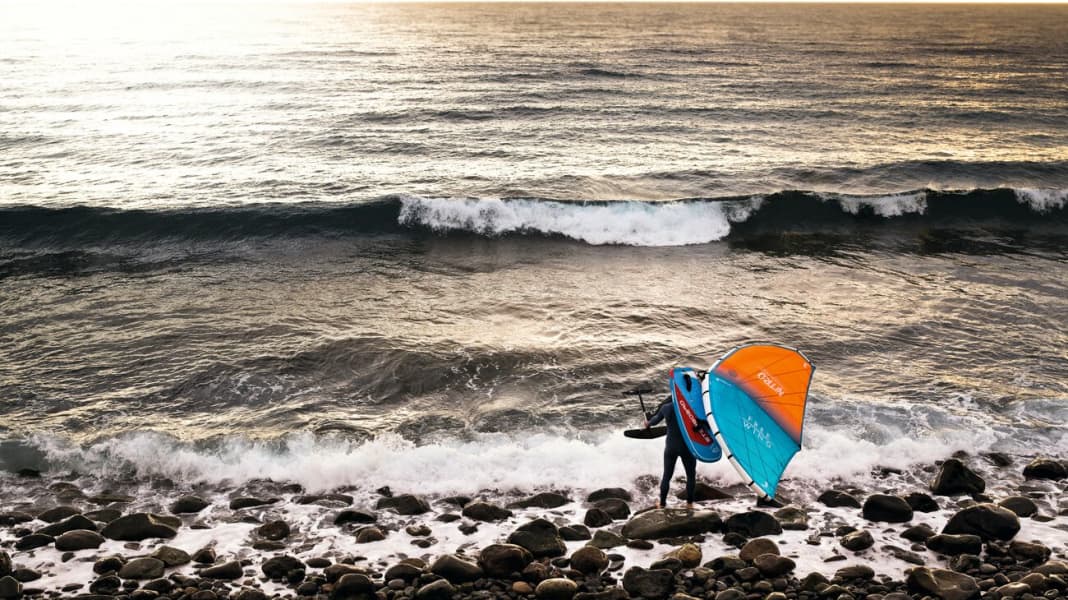
Like a grim bouncer, the Shorebreak sometimes blocks the way onto the water. The thought of turning up here with a foil and wing makes some people feel like they did when they were 14 in front of the village disco. To make sure that the bouncer's whim doesn't decide whether you can join in on the water in future, we'll show you the best way to sneak into the party in this riding technique.
Check entry
Shorebreak is an issue at many spots. Wherever the wind creates swells and the beach slopes steeply in the shore area, the waves break very close to the shore. If there is also a small wind cover under land, even mini waves can cause major problems and ensure that foil and wing come closer together than is good.
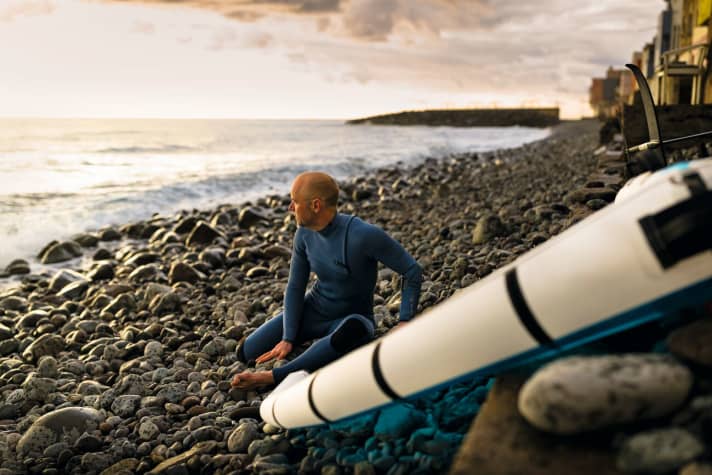
So before you jump into the water with your equipment, take a few minutes to check the situation at the spot. There are often areas where the shorebreak is weaker than elsewhere, for example because the beach slopes more gently here or offshore sandbanks reduce the power of the waves. It is also best to observe the other water sports enthusiasts and enquire about any special features.
Waiting for set breaks = overcoming the shorebreak
Waves always come to shore in sets. This means that the surf and shorebreak are not always the same height, but fluctuate at more or less regular intervals. A set usually consists of two to five waves that are significantly larger than the average. Immediately after a set, there is often a short period of "relative calm". It is important to utilise this rest period. Ideally, you should stand with your equipment at the water's edge in a waiting position. As soon as a recognisably large set is through, you can start.
Carrying material into the water - the best tips
When entering the water, the list of priorities is:
- Do not hurt yourself
- Do not damage the foil
- Do not damage the wing
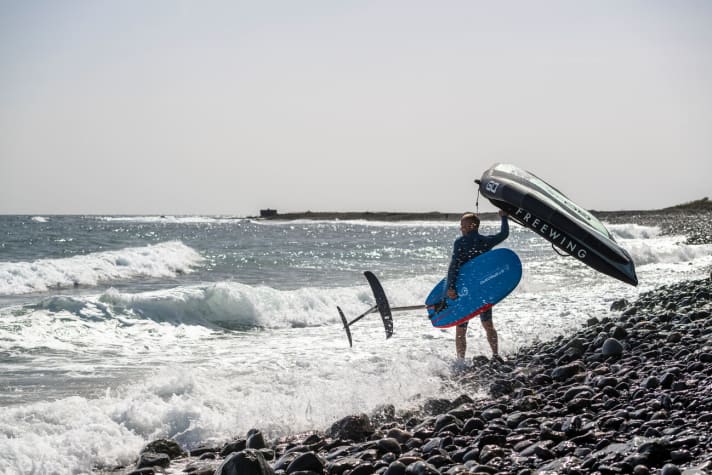
For this to work, two carrying techniques are useful. The "standard technique", where you carry the board by the handle at the side of your body, only works if the water is not too deep and the waves roll in gently. If, on the other hand, the beach slopes steeply, the shoulder carry technique has proven its worth.


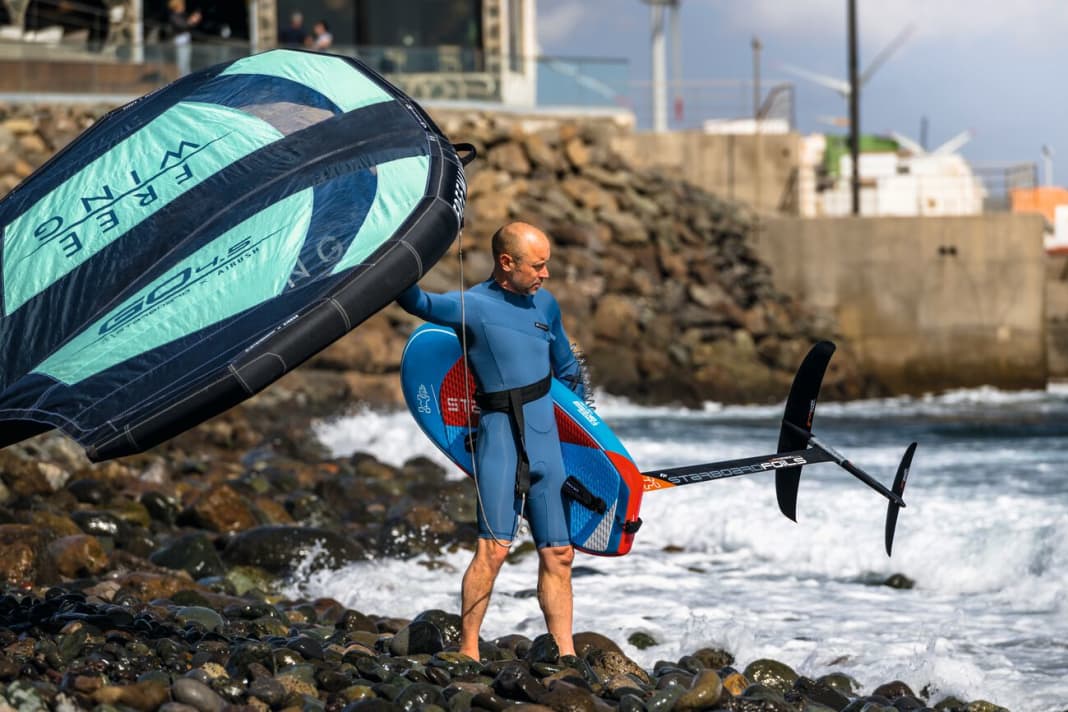
Our photo rider Kristoffer Living puts the mast over his shoulder on the windward side, with the foil in front of his body. As always, the wing remains on the leeward side. This technique has several advantages: Kristoffer now has the necessary ground clearance - even moderate waves still run through and don't hit the board. Only when the water is deep enough do you turn the board round. Keep contact with the board in every situation so that you don't injure yourself on the foil.
From the shorebreak into deep water
As soon as the water appears deep enough, the board is lowered into the water. Don't make the mistake of rushing to get on the board now, unless you want to demolish the foil on the rocks. Instead, try to get a little further into the deep water first.
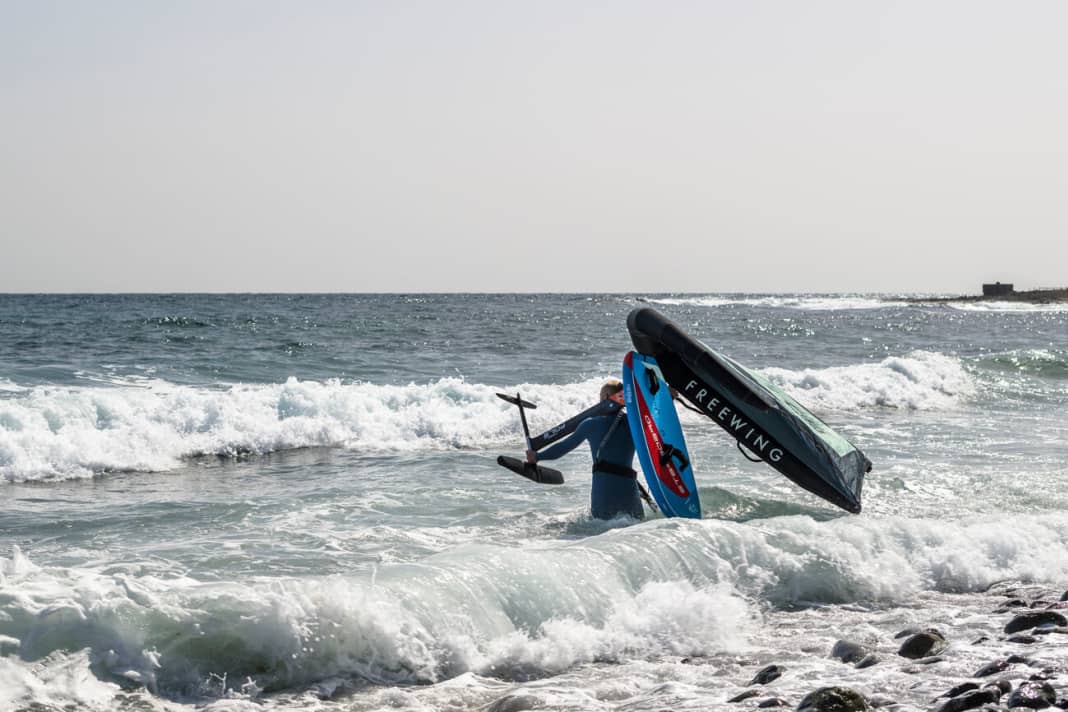


As long as you can maintain contact with the bottom with your feet, there is always the risk of the foil touching the bottom in a wave trough. To avoid this, Kristoffer grabs the board by the straps and swims against the waves with powerful leg kicks. He pays little attention to the wing and simply pulls it behind him on the leash.
If the water is deep enough, you can also paddle on in the style of a surfer. To do this, lie on your stomach on the board and take the wing in tow. If you have to cross larger white water rollers when paddling out, keep the bow of the board consistently down by putting weight on the board far forward so that it doesn't roll over backwards.
Start - with patience
As soon as you have reached the wind zone and the water is deep enough, you can think about the ascent. Keep an eye on the incoming waves during this phase too. If a set is approaching, sit it out, keep firm contact with the board and let the wing float.
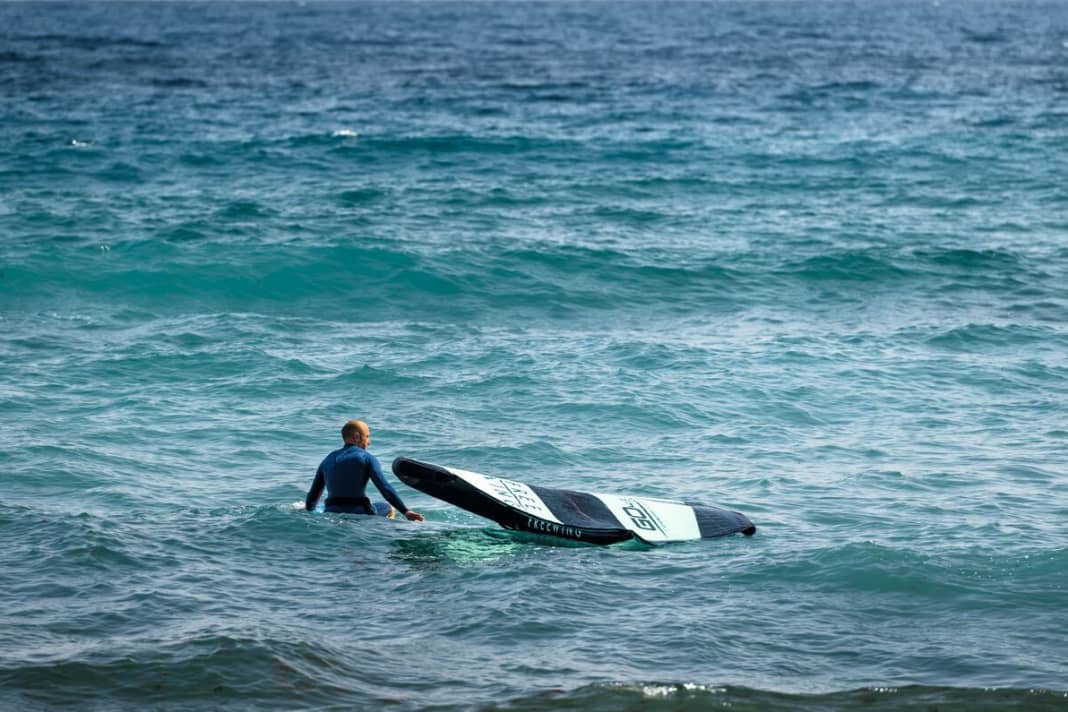


Only take off quickly once the set waves have passed. If the wind is still light here in the line-up, let the wing pull you further out in a sitting or kneeling position before you stand up.
Landing
If you type in the search term "wingfoil fail" on the internet, you will quickly come across clips that show what happens if you take an overconfident approach to returning to the beach. Riding the foil all the way to the beach can work, but sooner or later you'll ruin your feet or equipment on rocky spots. Therefore, end the flight in good time in deep water and get off the board. Pull the wing to the leeward side and swim towards the beach with the board upwind and the wing downwind. As soon as you are able to stand, turn the board on its side so that the foil does not touch the bottom and run ashore using the tried and tested carrying technique.
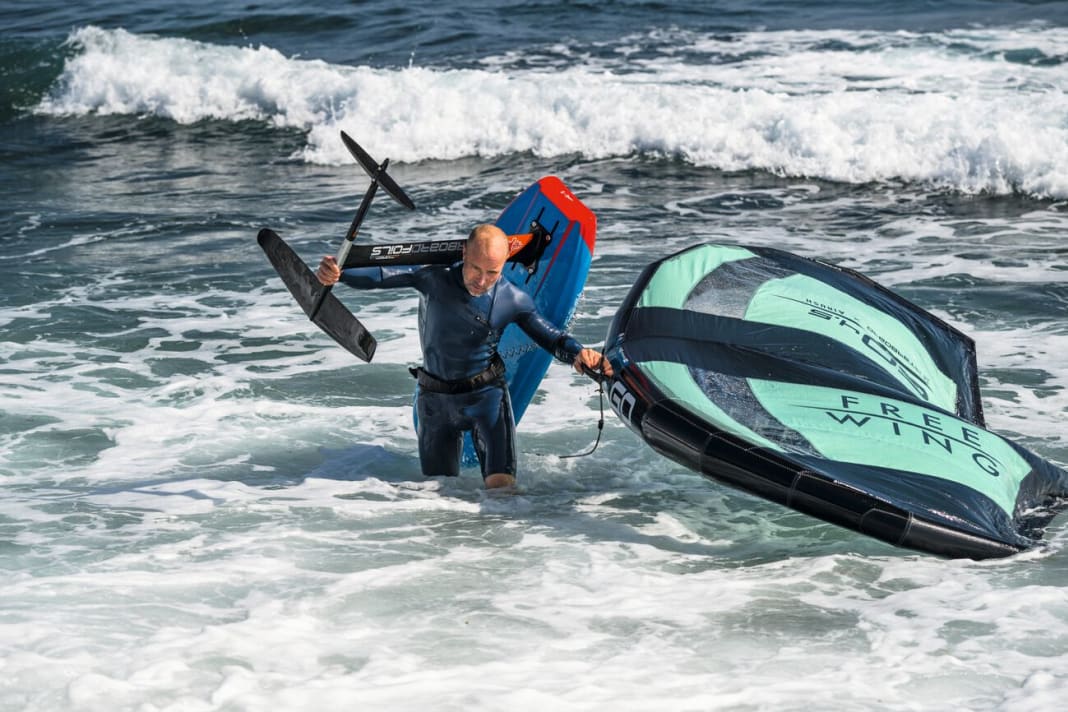


Tip: Hip leash for easy paddling in the waves!


Also interesting:
