Having your own board is always something special, and it becomes even more special when it has been created with your own hands, from the idea on the computer to the final finishing touches. A young surfer has done this and would like to share her experiences and reveal where the sticking points are.
With the design on the computer and the possibility for everyone to use modern CNC milling for actual shaping, the chances of building a decent board are greater today than they were 20 years ago.
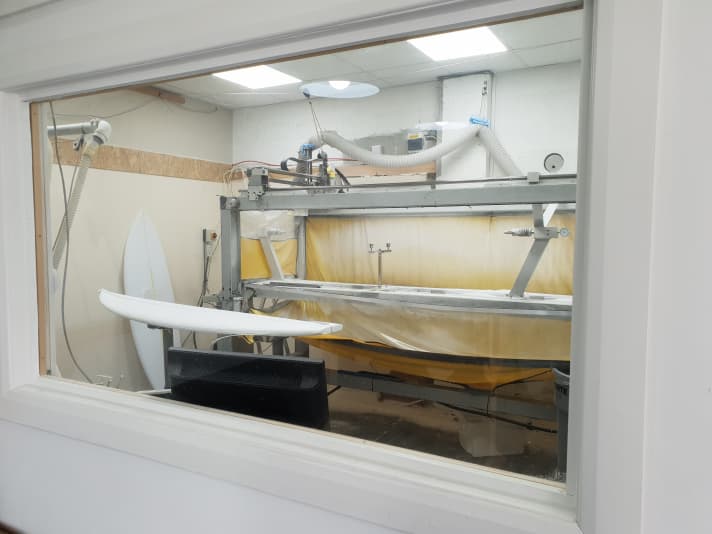
At the end of the article you will find six picture galleries describing almost all the steps from ordering to the finished board.
Can you build a board - a SUP, a windsurf board or a wave rider - yourself? The answer is: "In principle, yes, but..." In principle, SUPs, surfboards and windsurf boards have a very similar structure, the materials required are actually manageable and not rocket science: a foam core, a laminate of glass and carbon fibre, all impregnated and glued with resin, plus the fin boxes and other built-in parts such as a leash plug.
Things get complicated with boards, that need to be lightweight and withstand very high loads, such as windsurfing boards. Then sandwich laminates come into play, in which rigid foam panels just a few millimetres thick are used over the entire surface of the laminate. This is complicated and requires the use of vacuum technology - that's for professionals. However, a wave SUP could also be built using exactly the same construction method presented here.
Are you the type to build your own?
The answer can actually be found by taking a look at your tool arsenal. Do you have a rotary sander or a usable random orbital sander? A tool for milling, a Dremel or similar? Above all, do you have patience and no fear of dust and dirt? If you can answer "yes" to all of these questions and have used the tools more than once, things don't look too bad. Only then will the overall costs be kept within reasonable limits and you will probably also have sufficient previous knowledge of the trade.
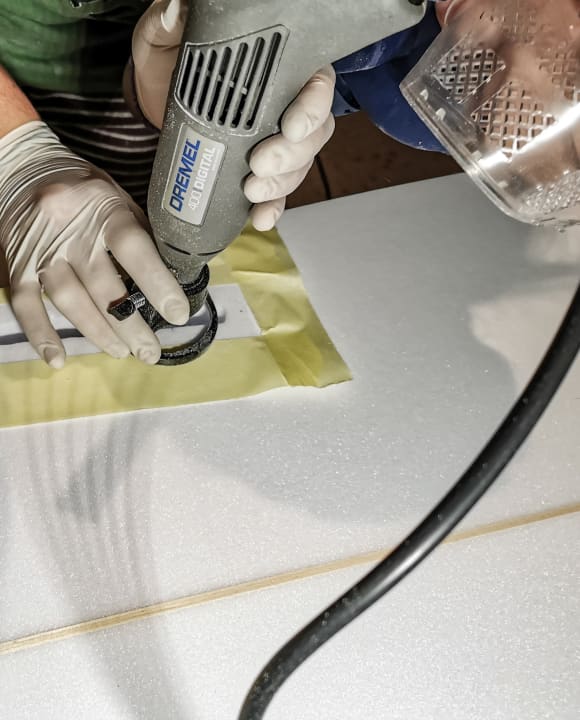
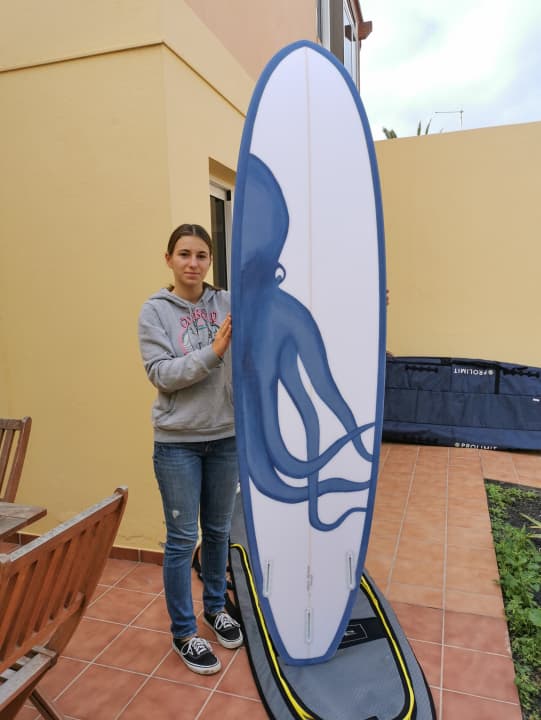
For "Shape Rookie" Laura Duschek, a mini Malibu was the perfect board for the project, for good reasons: "As a surfer, you always keep a board in the 7'2'' to 7'4'' size, even if you might want a smaller board at some point. And at least the work is worth it."
A classic construction method in epoxy laminate on PU. So that's what it was going to be. And above all with its own decor. The decor is painted on, as are the blue rails. The laminate is completely clear.
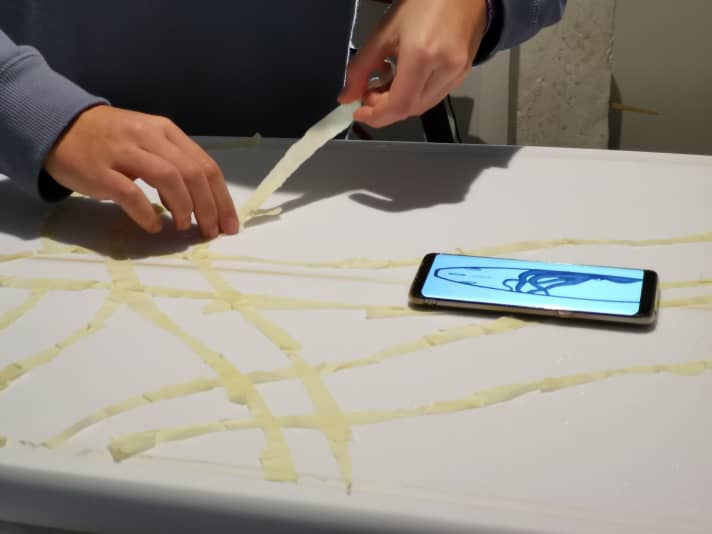
Shape on the computer according to a template or from scratch
With a little research, you can quickly find the free programme "shape3D" and various suppliers who sell all the materials and also offer the service of milling the board. Laura's choice fell on Seabase.eu in England - one of our friends had already successfully ordered there years ago.
You can design the shape completely from scratch with the free software - with all the finesse and including a 3D preview like the professional shapers - or you can start by searching for templates online. Existing shapes can then be customised as desired in the software. For the very lazy, Seabase also offers various ready-made blanks for the most common surfboard shapes.
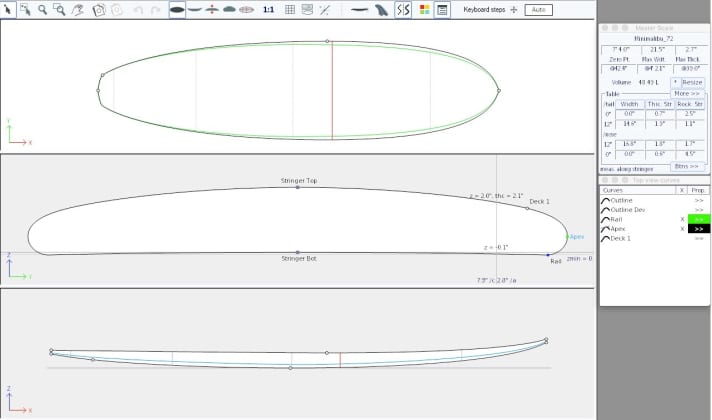
After a few evenings at the computer, the time had come. Probably the 20th and final check and the shape file plus a long order list for resin, hardener, glass fabric and small parts are ready. "SEND" - now there's no turning back.
The complete package of blank, milling cutters, plenty of epoxy laminating resin and high-quality glass fibre and fin boxes from Futurefins plus various small items such as brushes, tape, mixing pots, stirrers and sandpaper comes to just under 490 euros with shipping from England - with the certainty that only the best ingredients will be used.
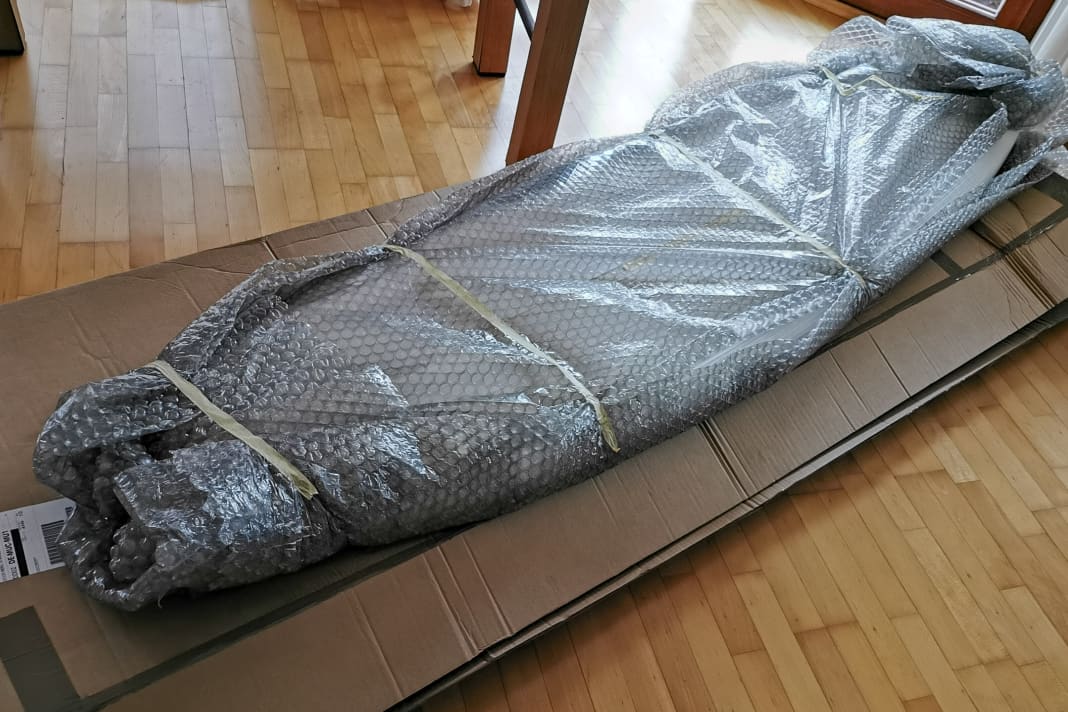
After around a week the haulage truck rolled up. A large box - and a huge box at that. The freight costs around 50 euros in total (which seems very reasonable considering the dimensions), while the 30 euros or so for the milling machine seem really cheap. After all, this saves you the labour with the most dust - and no professional can probably grind as precisely as the CNC router. First impression of the shaped "board": Top! The milling marks are clear, but concaves, V, edges - everything milled as planned and delivered flawlessly.
From the package to the finished board in six steps
Phase 1: Blank design and preparations
After the computer design, the shape file is sent to the milling machine at seabase.eu and then shipped from England almost directly to the living room. A proper shape stand can be built from scrap wood and a handful of screws.


Phase 2: The finishing touches
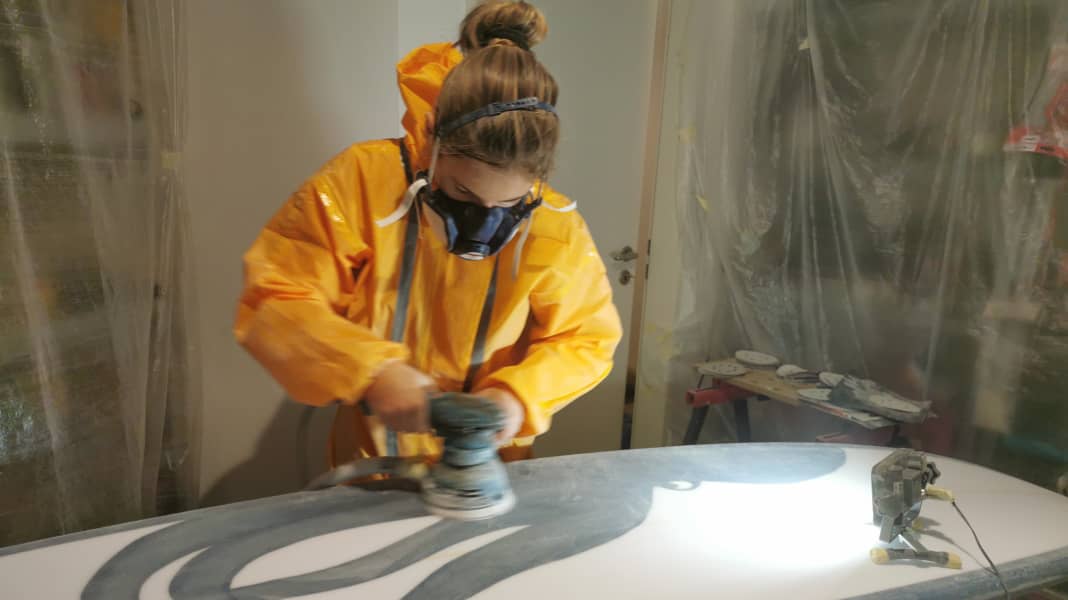
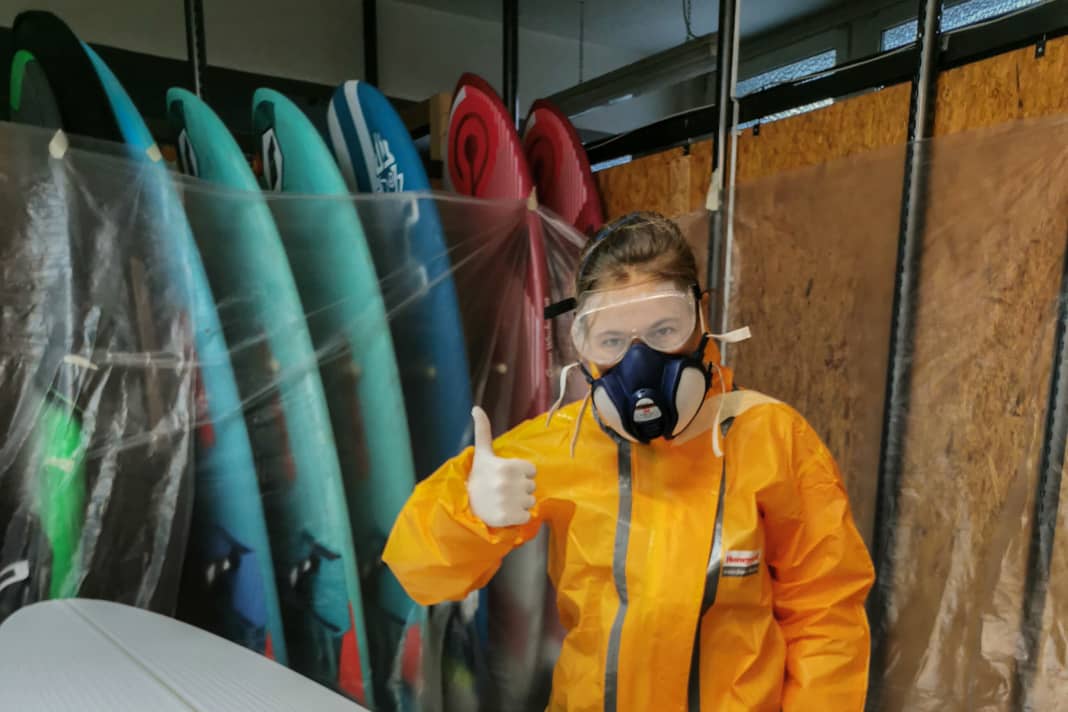
In the second phase, the blank is finely sanded. The milling cutter has left its mark, but after a few hours of sanding with sanding mesh and sandpaper, the final shape emerges. Including all the fine details and concaves.


Phase 3: Positioning and milling fin boxes
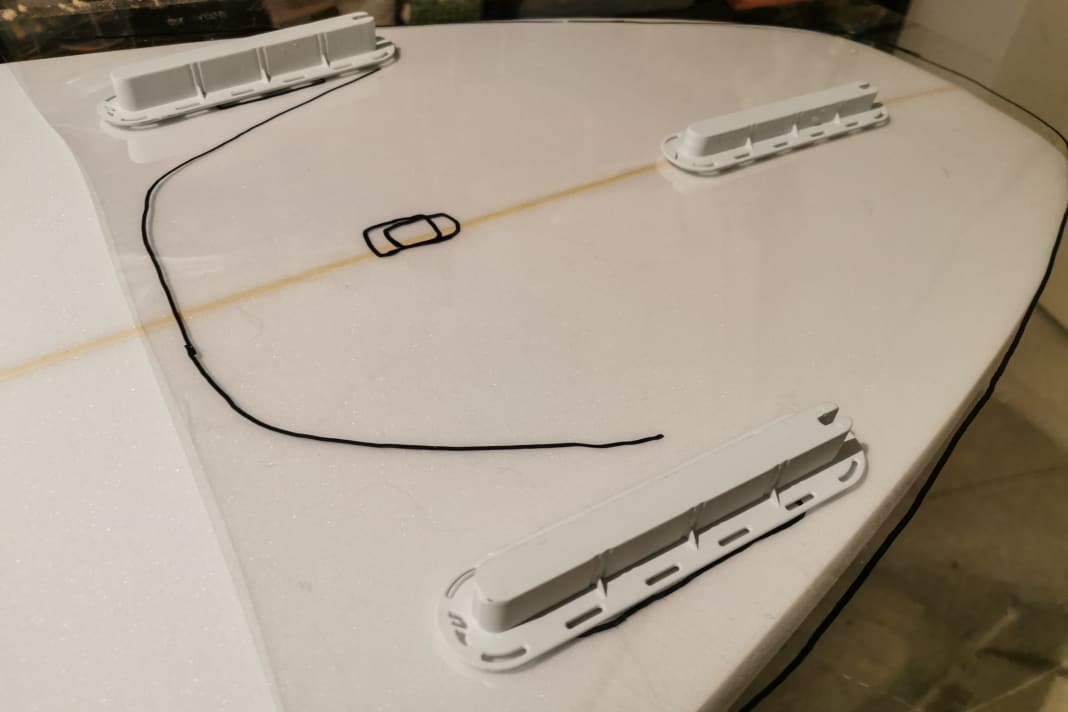
Fin boxes are marked, boxes milled out


Phase 4: Gluing in the inserts (fin boxes, leash plug) and decor
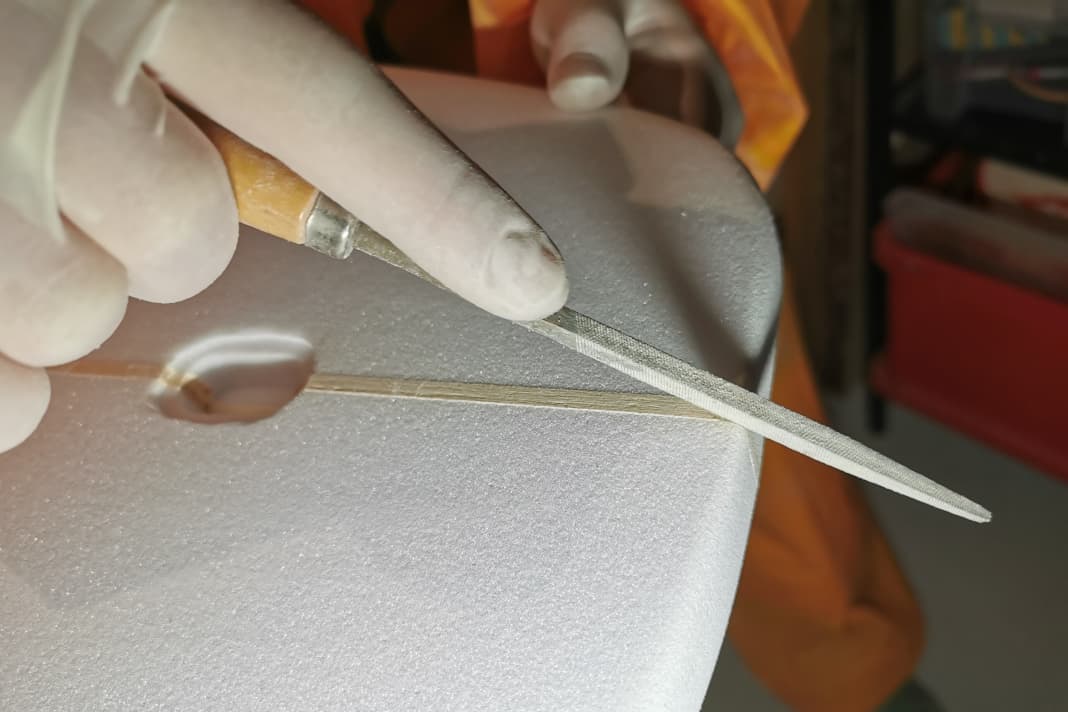
There are no limits to the visual design. Here, the rails and the underside are designed with a brush and acrylic paint.


Phase 5: The laminate!
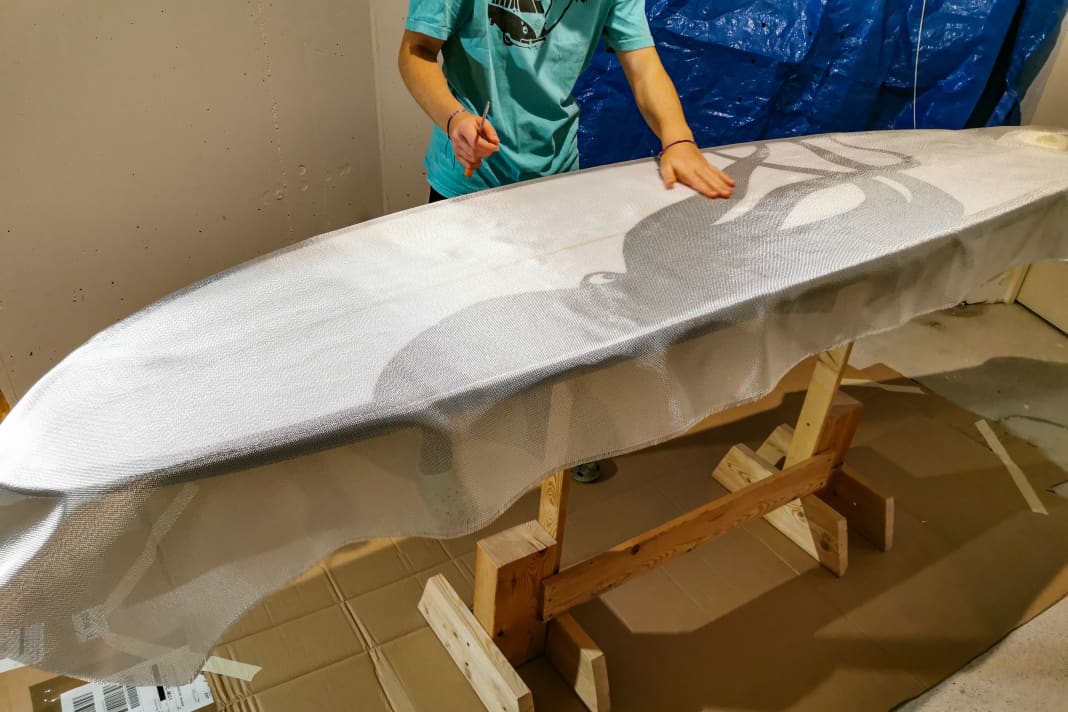
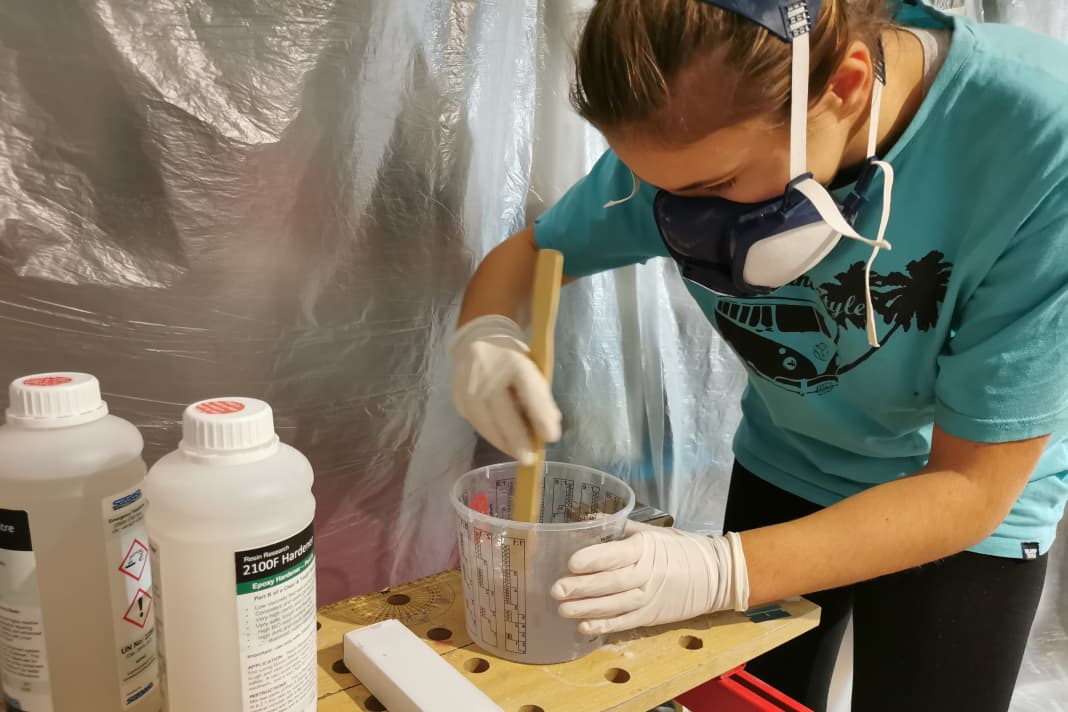
Now it's time to get down to business. Once the resin has been mixed, the clock starts ticking. However, with careful preparation and clean cutting of the glass fibre, this can be achieved. The tight radii on the tail and nose are difficult.


Phase 6: The visual finishing touches
The so-called hotcoat is applied and the board is then sanded in stages down to 800-grit wet paper. The result is a very fine, slightly matt look. High-gloss polish is not used here; polyester resin is better suited for this.


The result: a self-built surfboard
