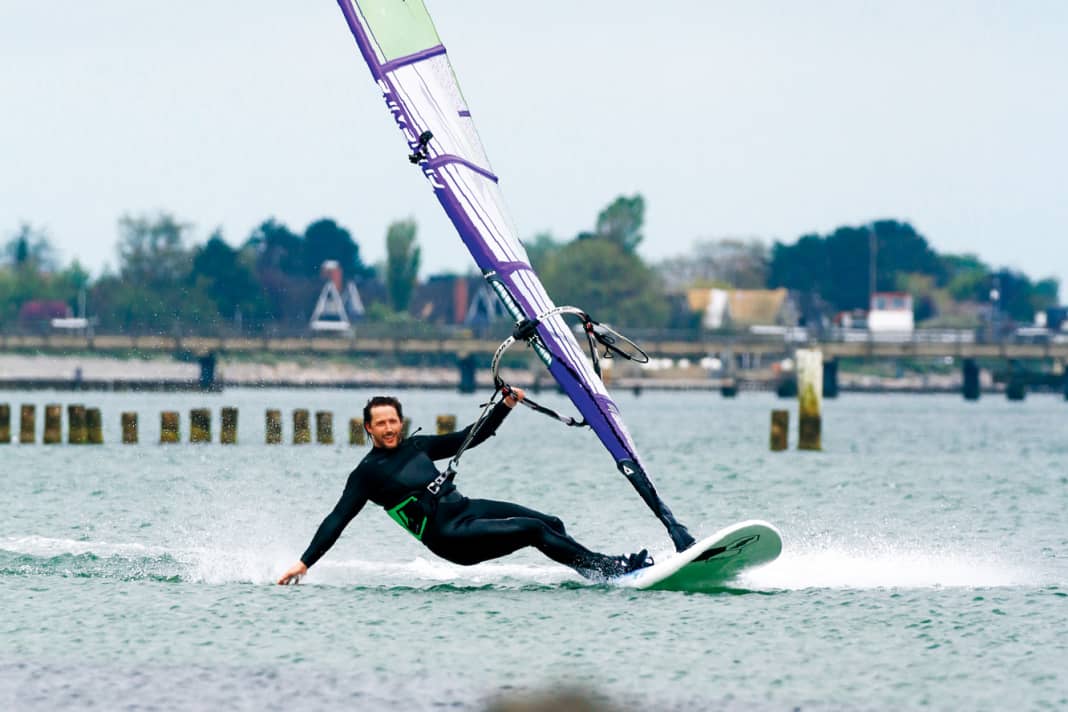
- Ideal conditions: 12-20 knots (4-5 Beaufort)
- Ideal equipment: Large freeride boards, sails without camber
- Learning requirements: harness surfing
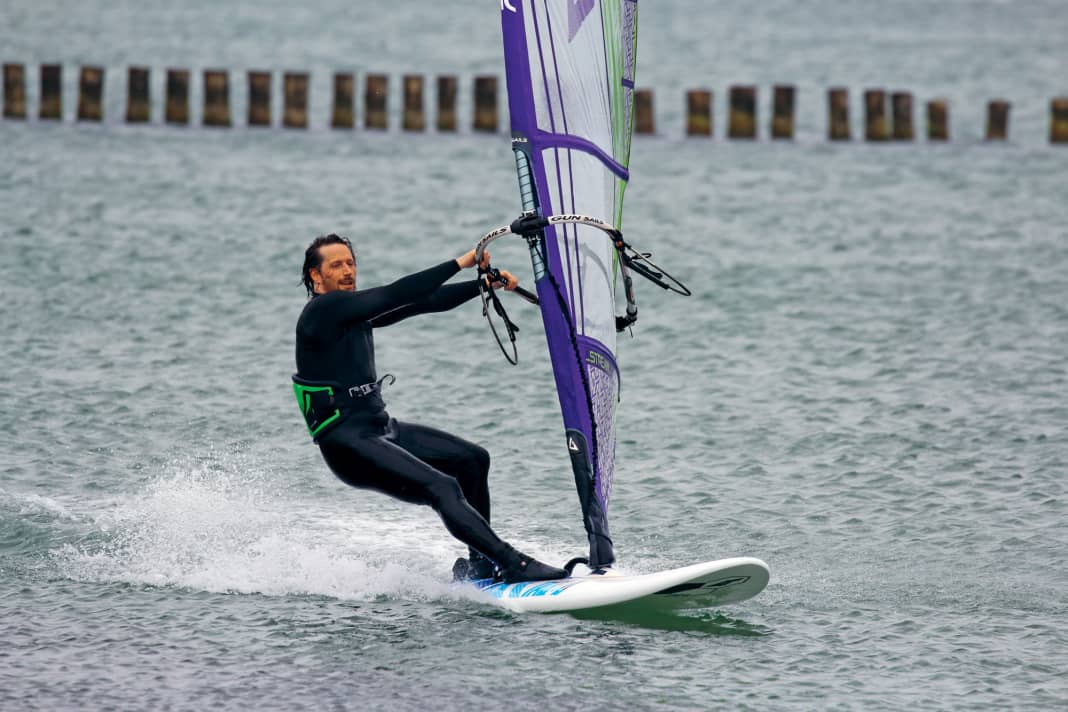
Planing for the first time - this is often the moment when you finally become a windsurfer. Two factors are crucial for turning a leisurely chug into a weightless glide. Firstly, the right strap and harness settings and, of course, the right technique:
Board type & strap positions
The foot straps are designed to guarantee firm contact with the board at higher speeds. If you want to practise strap surfing, you need a board with sufficient volume. A rough rule of thumb is:
Body weight + 60 = recommended minimum board volume
Choosing the right board size is at least as important as choosing the right board type, as this is the only way to ensure that the strap positions required for practising can be set at all. The foot straps are screwed into the designated threads, the "plugs".
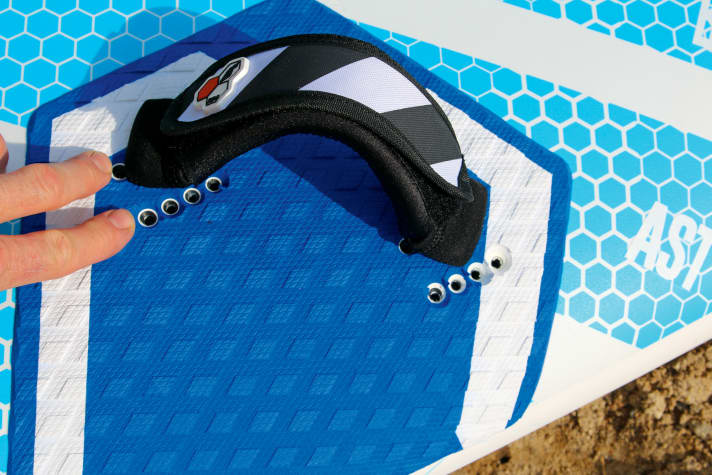
Depending on the board type, there are different rows of plugs to choose from. As a general rule: For beginners to strap surfing, the foot straps should be mounted on a plug row that is as far inwards as possible, close to the centre of the board. All board classes suitable for intermediates (e.g. "freeride" or "freemove") offer these far inboard positions.
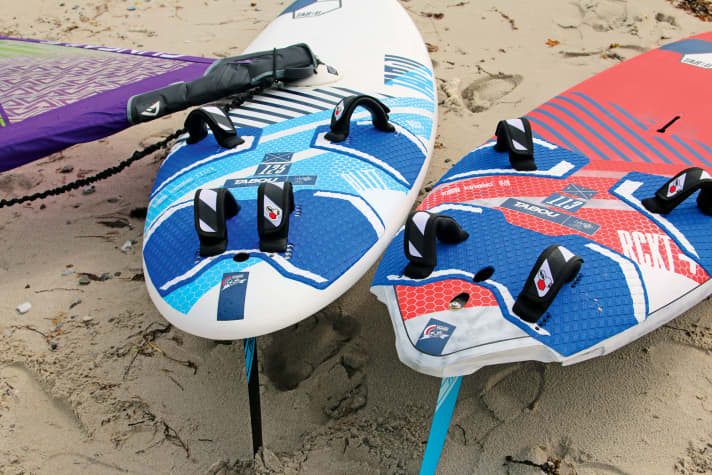
A centre strap can often even be mounted at the back, which means that you can manage with just three straps on deck. If, on the other hand, a board only has plugs very far out on the edge, it is usually a very performance-orientated board type in the "freerace" or "slalom" category, which is rather unsuitable for intermediates. Only those who have the appropriate riding skills, i.e. who can already ride at speed, can get more performance out of such boards in combination with large sails and long fins. All newcomers to strap surfing make life unnecessarily difficult for themselves with these types of boards.
Strap mounting
Even if it is tempting to screw in the screws with a cordless screwdriver, the manual version is recommended: because the plugs are made of hard plastic and the screws are self-tapping, this can otherwise quickly lead to torn plugs. Make sure that the screws are straight and tighten the screws firmly, but not with brute force. Because the footpads often compress a little, you should check the screws for tightness from time to time later on. Screwing the screws in and out unnecessarily will eventually cause the plugs to wear out. The plug spacing and the distance between them ("stance") fit well on most standard boards for average body and foot sizes, but if you have particularly wide or narrow feet, you can also use plugs that do not belong together and thus make the strap width or stance wider or narrower.
Strap size
Most straps can be adjusted to any foot size in seconds using overlapping Velcro fasteners. How far the foot should slide into the strap depends on the rider's ability, personal preferences and the intended area of use. A good compromise for flat water surfers between a firm board connection and easy entry and exit into the straps is a setting in which the toes are fully visible on the inside of the straps. When learning to strap surf, it is important to be able to slip in and out easily, which is why a slightly larger strap setting makes sense - at the beginning, your feet can slide in almost up to the instep. If you find it easy to slip into the straps, you can gradually adjust them a little tighter to give you more control at higher speeds.
The best tips for planing
Correct adjustment of the harness lines
Early planing is closely linked to the correct harness settings. In addition to taking the strain off your arms, the aim of harness surfing is to exert pressure on the base plate via the harness lines during the start of the planing. Only if this is successful will your board stay flat in the water on the way into the foot straps and cross the planing threshold as quickly as possible. For this reason, it is important to transfer power as vertically as possible via the harness lines to the board. Translated, this means a boom that sits higher up - shoulder height is ideal - in combination with longer harness lines enables a more vertical power transmission to the board than is the case with a (too) low boom and correspondingly short harness lines. Because you are standing quite a bit further back and to the outside when planing, the actual boom height when surfing is always lower than the height set on land (standing directly next to the sail). So to ensure that the boom is actually at shoulder height when surfing, it must be attached well above shoulder height on land!
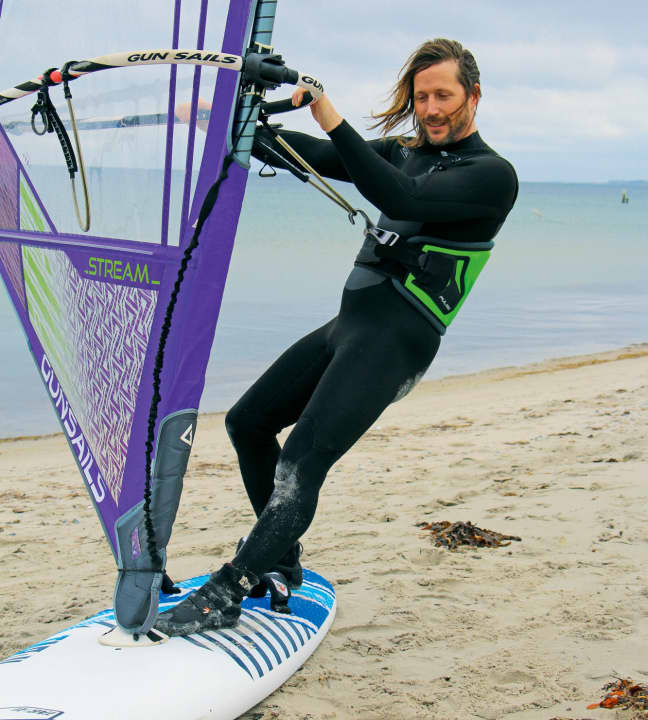
Tip: If you feel high lateral forces in combination with low board speed and high lateral drift when harness surfing, push the boom up a few centimetres and use longer harness lines! Vario harness lines are ideal, you can adjust them in seconds and find your personal favourite setting. Here is a rough guide to the right rope length:
- < 1.60 metres in height: 20-24 inches
- 1.60 to 1.75 metres tall: 22-28 inches
- > 1.75 metres height: 24-30 inches
The right posture for planing
In addition to the boom height and the length of the harness line, the correct body posture is crucial. In order to convert the sail pressure into propulsion and speed, the front foot and upper body should be turned in the direction of travel. So hook in, turn your front foot in the direction of travel and build up body tension.
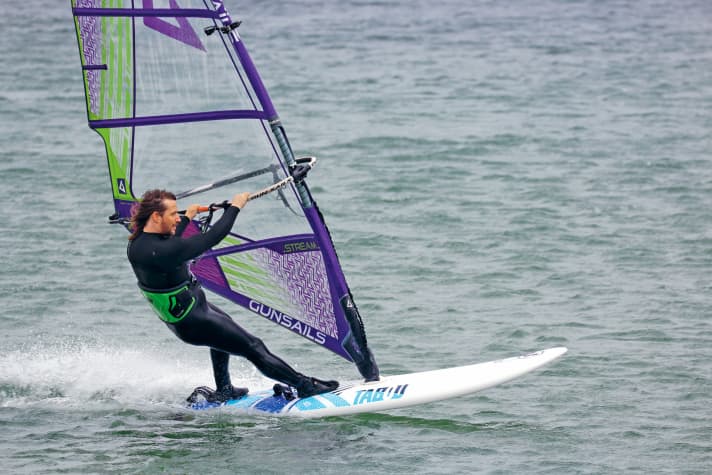
The front foot is between the base plate and the straps, the front leg is stretched out and pushes the board over the sliding threshold, so to speak. The best way to do this is on a slightly downwind course.
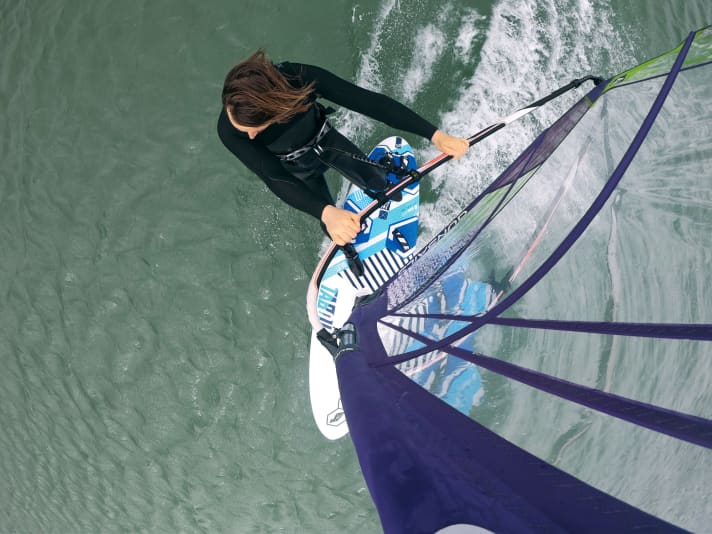
Tip: If, on the other hand, the foot is perpendicular to the direction of travel on the board, this inevitably leads to the hips and upper body being turned towards the sail. As a result, the forces of the sail are transmitted sideways rather than forwards, resulting in low speed and increased drift. When transitioning to planing, try to keep the board flat on the water until you are fully planing, only then should you step into the straps.
Into the straps with a tripod
Only switch to the foot straps once your board has reached a solid planing speed. It is crucial to keep the board flat on the water so as not to stall the planing. But how should you lift your front foot and place it in the strap without shifting your weight to your back leg?
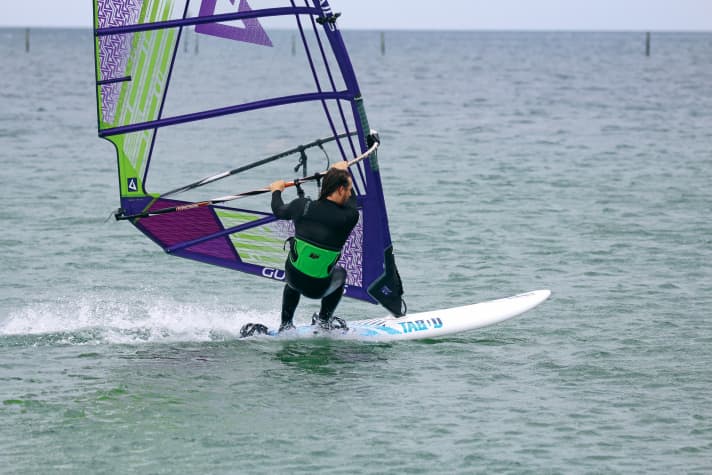
The solution lies in the 3-leg principle: the mast is your third leg, you can exert pressure on the base plate and put weight on the front of the board using the harness lines and a slight forward lean of the upper body towards the bow. Shifting your weight over the harness onto the base plate now allows you to lift the "middle" leg and place the front foot in the strap.
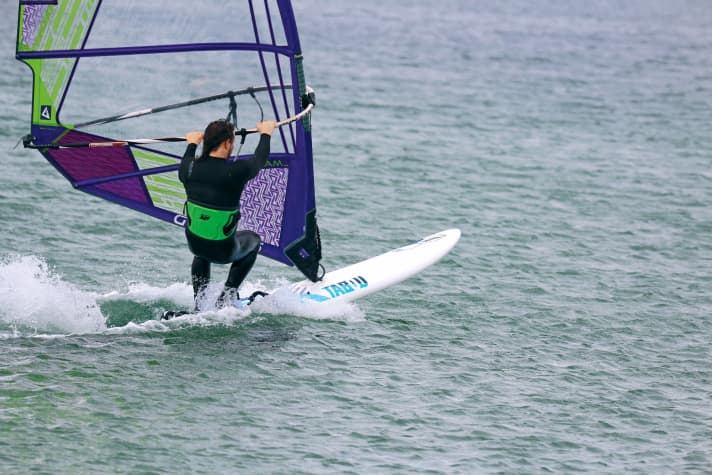
However, if you don't have the necessary body support, you will inevitably put weight on your back leg and thus your tail when you step into the strap - the plane ends before it has really begun. Tip: At the beginning, only plane with your front foot in the loop. As soon as this works, the back foot will follow
Keep the windward rail up!
Planing novices and even experienced returnees to windsurfing with modern freeride boards sometimes find it difficult to keep the board on course when stepping into the straps. Although the current shapes offer great advantages in manoeuvres and full planing (e.g. due to their large width in terms of tipping stability), they also prove to be more sensitive to incorrect loading of the tail during the planing phase than the longer shapes of the older generation. The shorter a board, the less directionally stable it is in the planing phase. Whilst the 3-leg principle mentioned above is primarily intended to prevent incorrect loading around the transverse axis, the longitudinal axis also needs to be loaded sensitively. The reason: with the transition to planing, the board no longer reacts to sail control but to foot control. As you automatically put a little more weight on the back foot as soon as you lift your front foot and place it in the strap, the back foot must always be on the longitudinal axis of the board (3). If it is too far on the windward edge, which often happens, your board will immediately acknowledge this by veering into the wind and noticeably losing speed.
Tip The larger the board, the less sensitive it is to load errors at the beginning. Therefore, use a sufficiently large and above all long board to learn how to get planing!
How to get that extra boost when planing
If the gust you're longing for just won't come, you have two options: Either accept that the wind, at least with the current sail and board size, is simply not enough for planing, or work on your planing fun. By pumping, you create your own wind - the rest is done by adjusting your equipment correctly.
1. Tuning
The easiest way to break the glide threshold earlier is of course to choose larger equipment. If you don't want to or can't do this, you should first adapt the available equipment to the light wind conditions as best as possible:
- Reduce outhaul tension: The more belly/profile your sail can develop, the more propulsion it will develop. At the lower wind limit, you should therefore reduce the boom tension, the sail may also lie slightly against the boom on the leeward side (5).
- Reduce downhaul rope tension: Only give your sail a slight loose leech at the lower wind limit, i.e. reduce the tension on the luff slightly. This keeps the leech tauter, which means the sail twists less and builds up more tension when pumping.
2. Correct pumping
If the equipment is optimised and the wind is still not enough to get you passively planing, you are in demand! In displacement mode, each board pushes a bow wave in front of it and the resistance in the water is correspondingly high. Once you manage to lift the board over the planing threshold, the water resistance is reduced, but at the same time the relative wind increases with the higher speed, as this is made up of the airstream and the atmospheric wind, i.e. the wind that is actually blowing. Once pumped into planing, the conditions improve to such an extent that you can remain planing without any further pumping movements.
The right pumping technique


Tip: For effective pumping, the pull phase must always be slightly faster and more explosive than the return phase. When pumping, don't do things by halves! Fanning and half-hearted arm pulls are of little use, use your entire body instead.
