In this article:
At first glance, setting up a rig for windsurfing may seem a little complicated. But with the right moves and a few tricks, you'll have your sail set up in no time and be ready to hit the water. With new equipment, it is advisable to test the set-up at home - so that everything fits later on the beach. And once you have set up the sail a few times, it will take no longer than a few minutes, as surf tester Stephan Gölnitz shows .
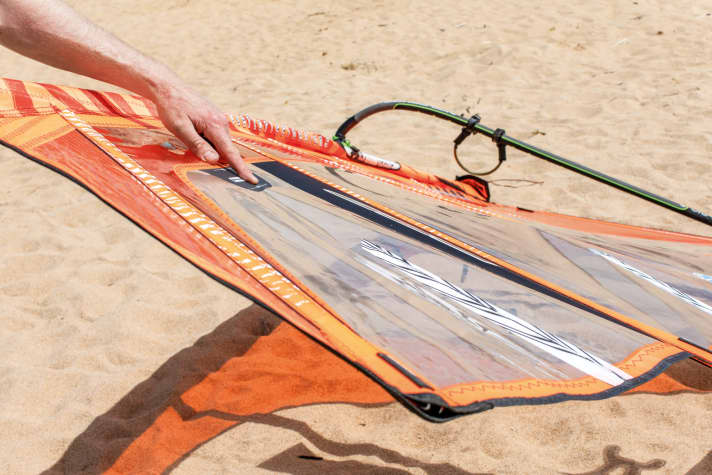
Above in the gallery we show you step by step how to assemble the sail!
Set the mast extension correctly
The required luff length is printed on each sail under the term "Luff". For our sail, this is 435 centimetres. The mast recommendation is "430 rdm" - in other words, a mast with a length of 430 centimetres and a thin diameter (RDM = Reduced Diameter Mast) is recommended. However, masts with a standard diameter (SDM = Standard Diameter Mast) can usually also be used. In both cases, the difference between the mast length (430) and the required luff length (435) is five centimetres, so you can compensate for this with an extension set to five centimetres.
Set the boom correctly
The necessary specifications for the boom are also printed on the sail (in the example: Boom 185 +/-2). Almost all forks are adjustable, the shortest and longest lengths are indicated (e.g. 150-200). The steps in centimetres are also printed on the extendable end piece, so that you have to subtract the smallest step of the fork from the length required for the sail in order to find the right setting for the end piece.
If you are using a mast with a reduced diameter ("skinny" or RDM), you will need an adapter. Many modern booms already have this integrated. If you are using a thicker SDM mast, remove the adapter before mounting.
The quick-release fastener can usually also be adjusted with a rope using a clamp. It should close with medium resistance; brute force when closing can damage the mast. However, if the tension is too low, the boom can slip on the water.
The right sail trim for windsurfing
Even if most sails have their own peculiarities when it comes to trimming, the following still applies: the main load when trimming is always on the luff tensioner - many windsurfers trim too little here. You can and must pull firmly on the luff tensioner, ideally using a harness hook, a screwdriver or an extension as a trimming aid ( see below ).
One indicator of the correct trim is the so-called "loose leech": The more tension you apply to the luff, the more the mast bends, causing the leech between the two upper battens to relax. With the exception of beginner sails and very specialised freestyle sails, which are rigged with virtually no loose leech, modern sails should always have some visible loose leech. Many brands print marking points in the sail up to which the resulting visible crease in the monofilm should run. The relaxed leech allows the sail to twist in the upper area, i.e. in strong gusts the sail top turns away and lets off some steam - which has a positive effect on handling and controllability.

The following therefore applies: In light winds, very light loose leech is sufficient, the leech is then tighter and the sail has a little more power. In strong winds, you should also give your sail more loose leech by tightening the luff to allow the twist required for sail control. Always tension the trim sheet only moderately to give the sail the necessary belly.
Recognising trimming errors
Even if you have made every effort on land, sometimes you only realise on the water that the trim is not right.
Case 1: Sail undertrimmed
Symptoms of an under-trimmed sail are
- Loss of control in the gusts, recognisable by a strongly increasing pull on the sail hand, caused by the sail pressure point moving backwards
- Heavy feel: The sail draws recognisable cross-folds over the boom and compresses in the top area when surfing
- Poor rotation of the battens during manoeuvres
In addition to the visible loose leech, the batten directly above the boom is also a good indicator: if it protrudes significantly above the mast, the luff tension is too low.

MeasurePull the luff gradually 1-2 cm and adjust the trim sheet tension to the same extent.
Trim-independent reasons may be that you are using a mast that is too short and therefore too soft.
Case 2: Sail overtrimmed
Symptoms of an over-trimmed sail are
- Low driving performance with little wind
- Poor sailing stability, i.e. the sail seems fidgety and unsteady in the hands, the correct angle of attack to the wind is difficult to find
Here too, the batten directly above the boom can be a good indicator: If it does not touch the mast at all, the luff tension is too high.

Measure:Allow 1-2 centimetres on the luff tensioner and trim sheet.
Trim-independent reasons can be that you are using a mast that is too long and therefore too hard.

When pulled tight, the sail should almost touch the boom on the leeward side (see picture). If you pull your sail too flat on the trim sheet, you will kill the profile - the sail will be underpowered and feel nervous in the hand.
How to make your own trimming aid
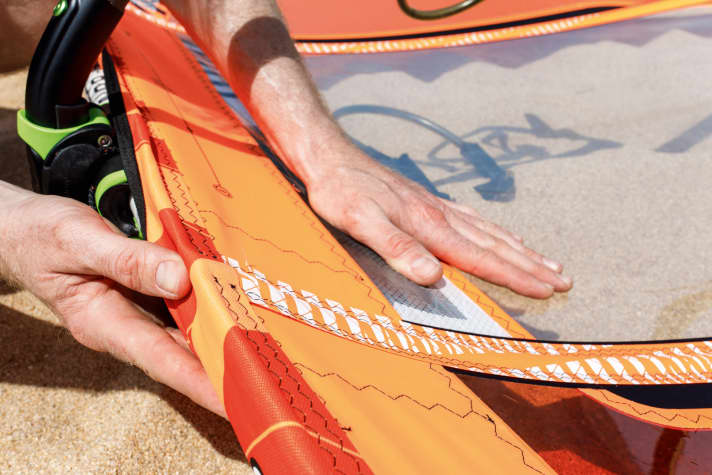
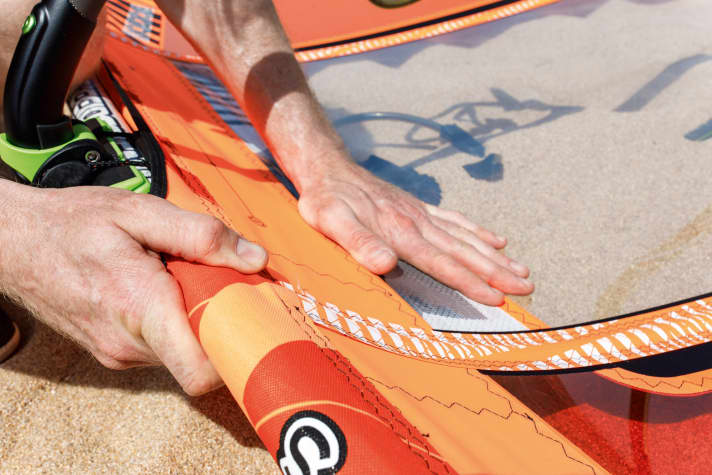
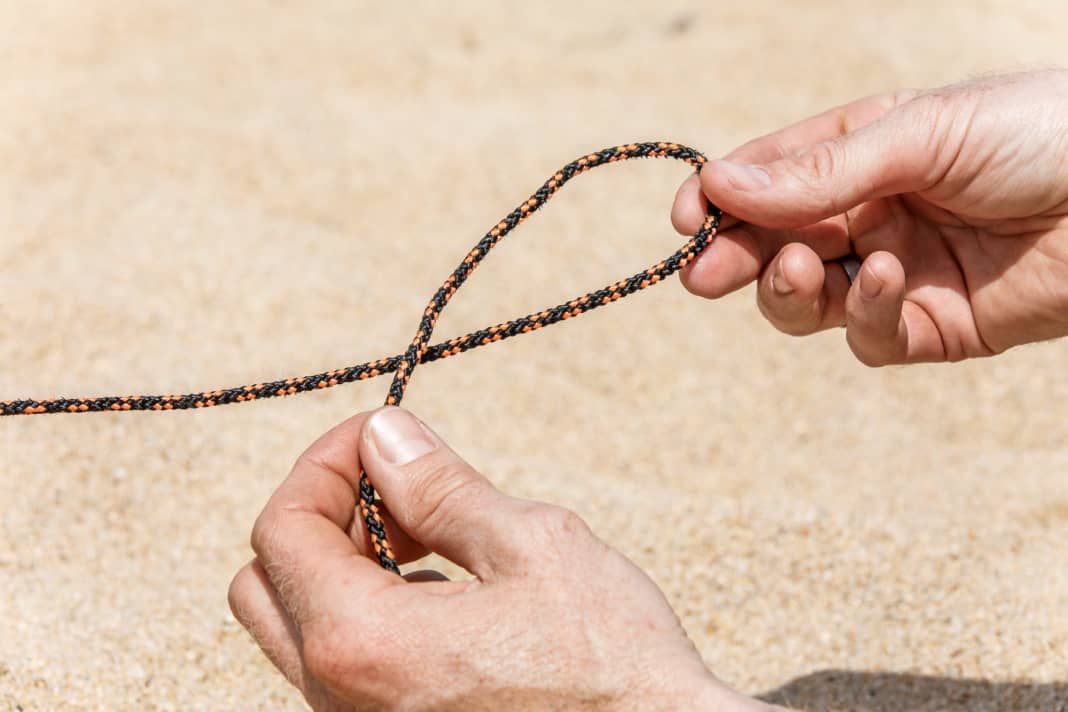
Sometimes you have to do a lot of hard work when trimming - especially for many young people and women, the high trimming forces on the luff are often a real problem. A little trick can help to transform the end of the rope into a perfect loop for a trimming aid - in a matter of seconds and without any knots. We show you how to do it step by step in the picture gallery!


All the steps for assembling the sail in the video
Do you have any questions about materials? Then send an email to redaktion@surf-magazin.de ! We will be happy to help you.


